Welcome to the world of Eatance, a revolutionary food ecosystem designed to transform and elevate your restaurant's online presence. In this comprehensive guide, we will explore the essential features that Eatance offers and help you configure them for your restaurant. With Eatance, you can effortlessly optimize your online presence to enhance your customers' experience and boost your online visibility. From configuring your address and taxes to creating delivery zones and setting up payments, Eatance has got you covered. By following our expert guidance, you can seamlessly integrate Eatance to engage a wider audience, enhance customer satisfaction, and drive profitable sales.
Join us on this journey to optimize your restaurant online presence and captivate a wider audience. Let's get started!
1. Address - Putting Your Restaurant on the Map
Your restaurant's address is a critical component of your online presence. Let's delve into the configuration process:
A. Access The Admin Panel and Navigate To The Address Settings
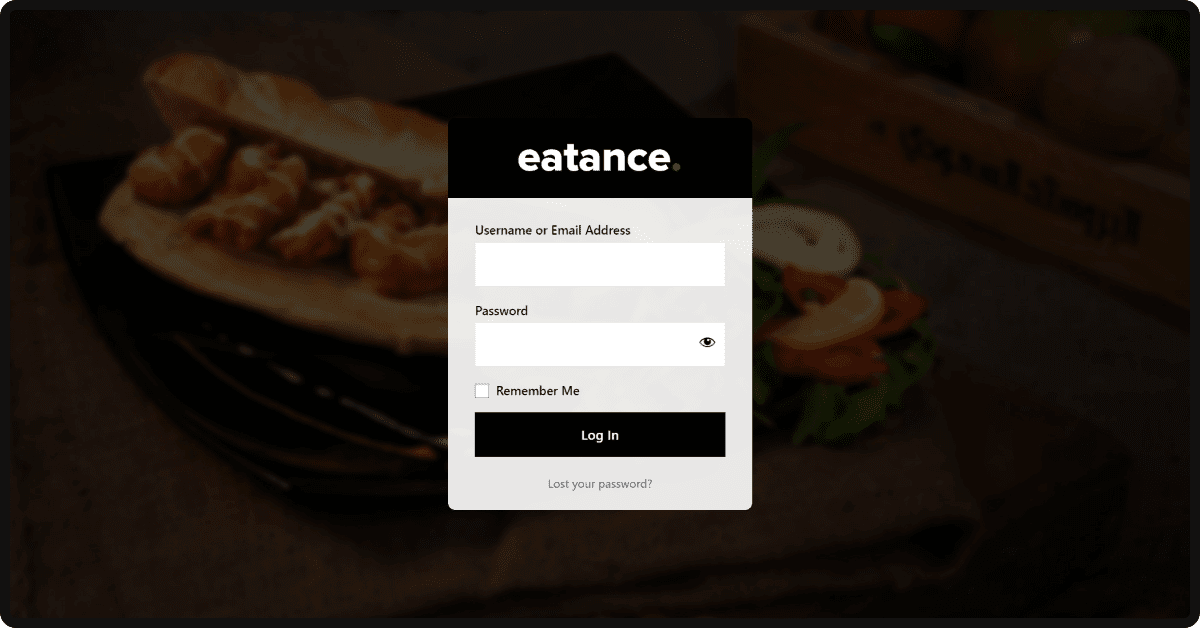
- Provide your login credentials on the given Restaurant Builder Admin to gain access to your account.
- Go to Restaurants from main menu.
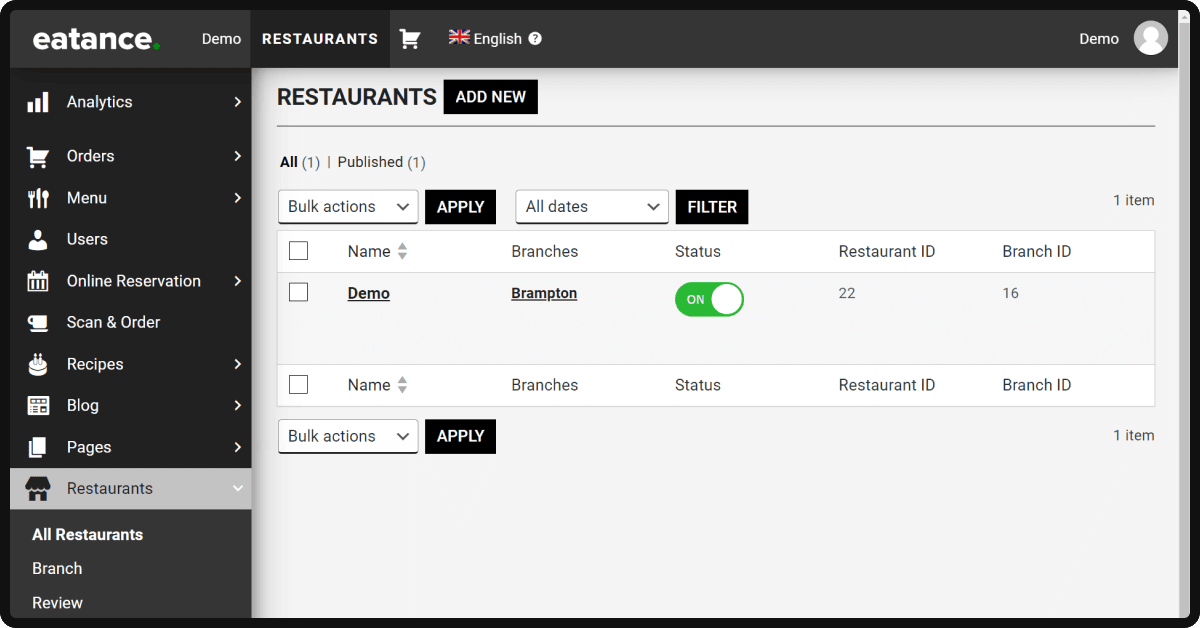
- Edit Restaurants Settings.
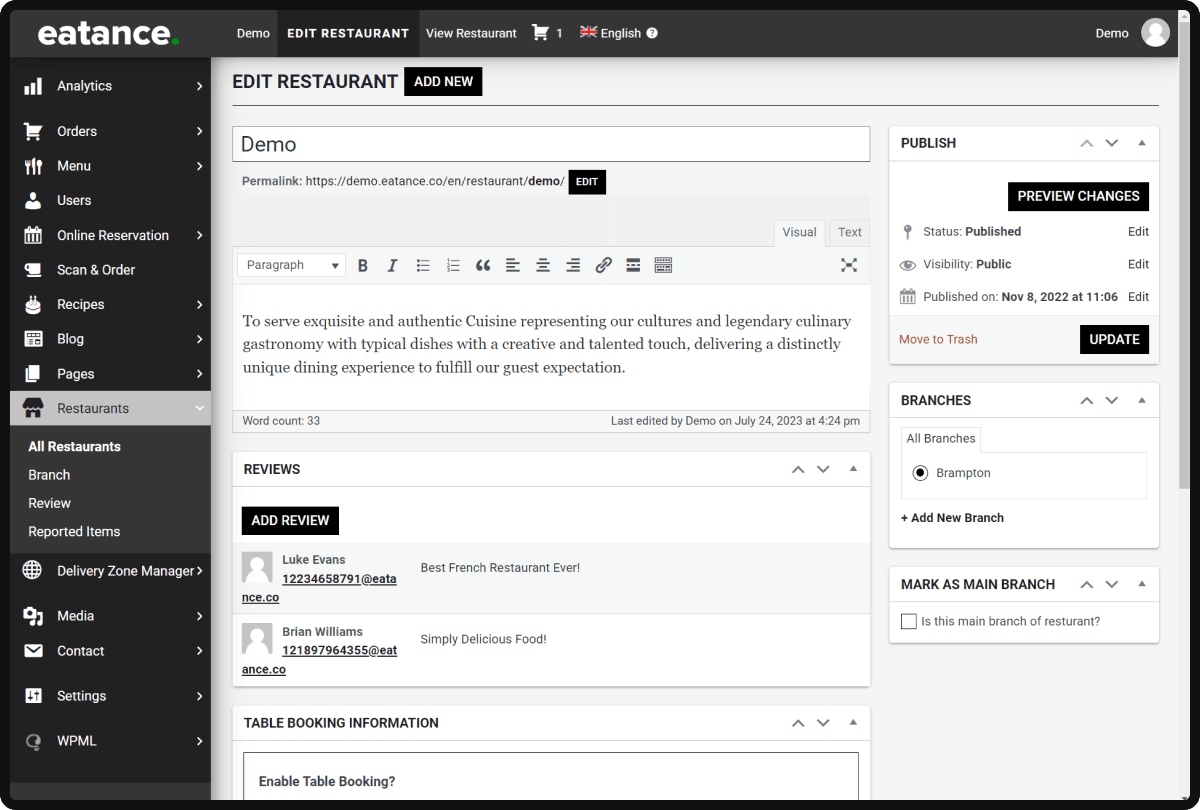
- Locate the Address section.
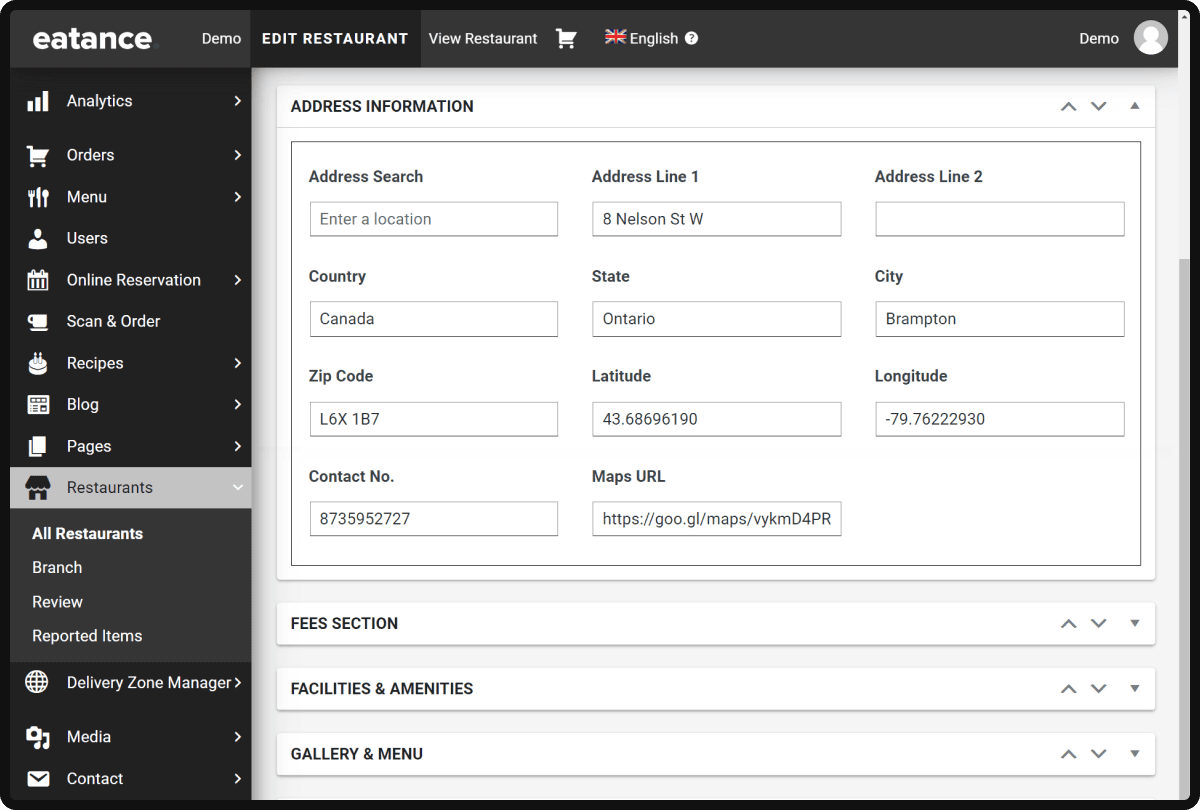
B. Update Your Restaurant's Address
- Enter the correct address information in the designated fields.
- Double-check for accuracy and completeness.
- Save the changes.
C. Obtain The Latitude and Longitude Coordinates
- Open Google Maps.
- Search for your restaurant's location.
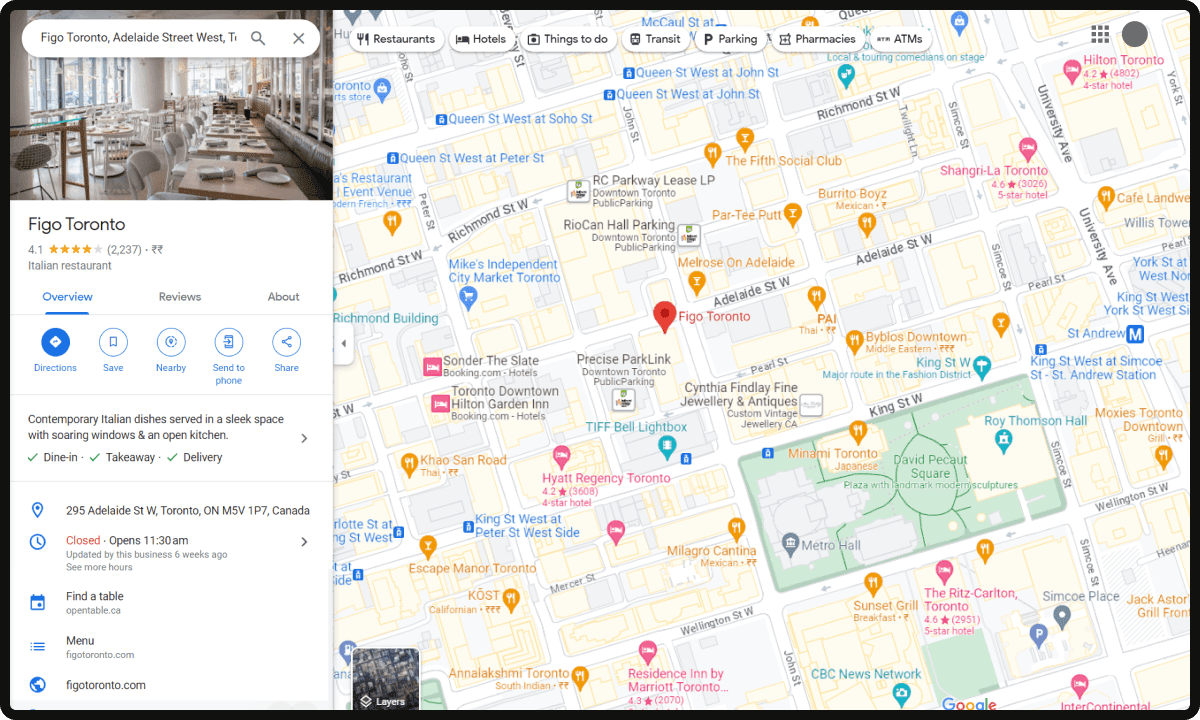
- Right-click on the map to get the latitude and longitude coordinates.
- Copy and paste the coordinates into the designated fields in the address settings.
D. Enhance The User Experience With a Short URL
- Go to your preferred URL shortening service.
- Create a short URL for your restaurant's map location by sharing it.
- Copy the short URL.
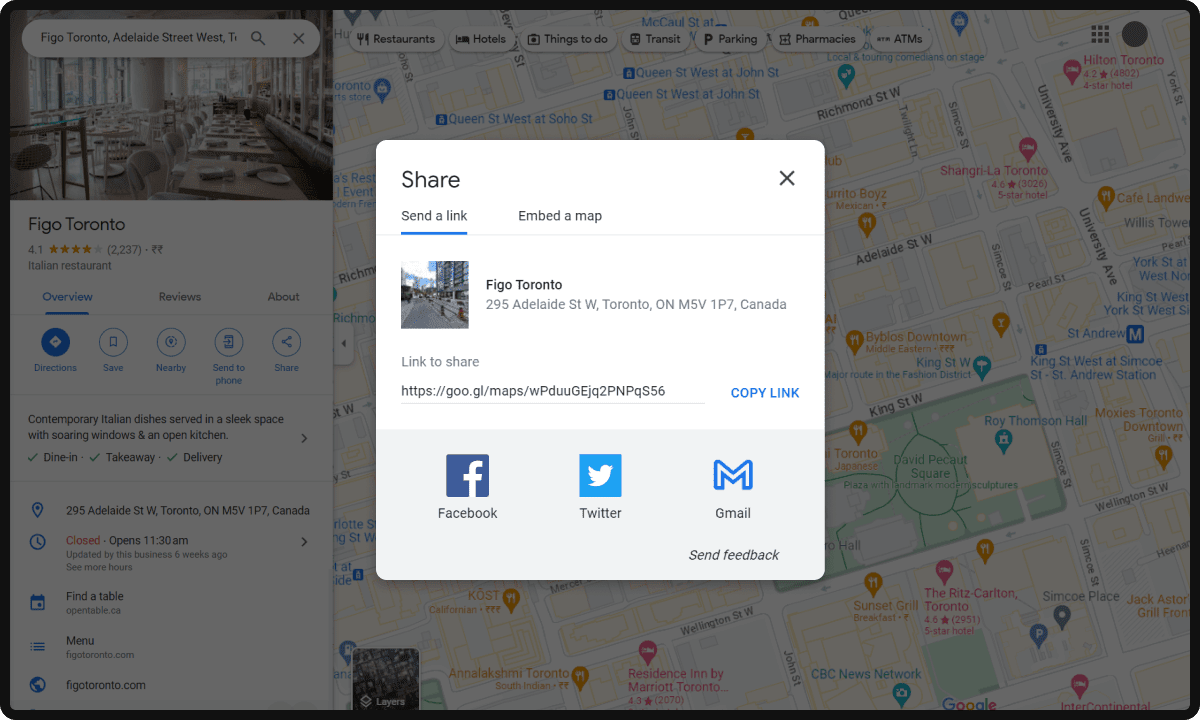
- Paste the short URL in the appropriate field within your restaurant's website settings.
By following these steps, you can ensure that your restaurant's address is accurately configured, making it easy for customers to find you. Additionally, adding a short URL to your map location enhances the user experience and improves convenience. Take advantage of these features to create a seamless online experience for your customers
2. Taxes - Ensuring Compliance and Transparency
Properly configuring taxes is crucial for your restaurant's financial operations. Here's how to set up taxes effectively:
- Access the admin panel and navigate to the tax configuration settings.
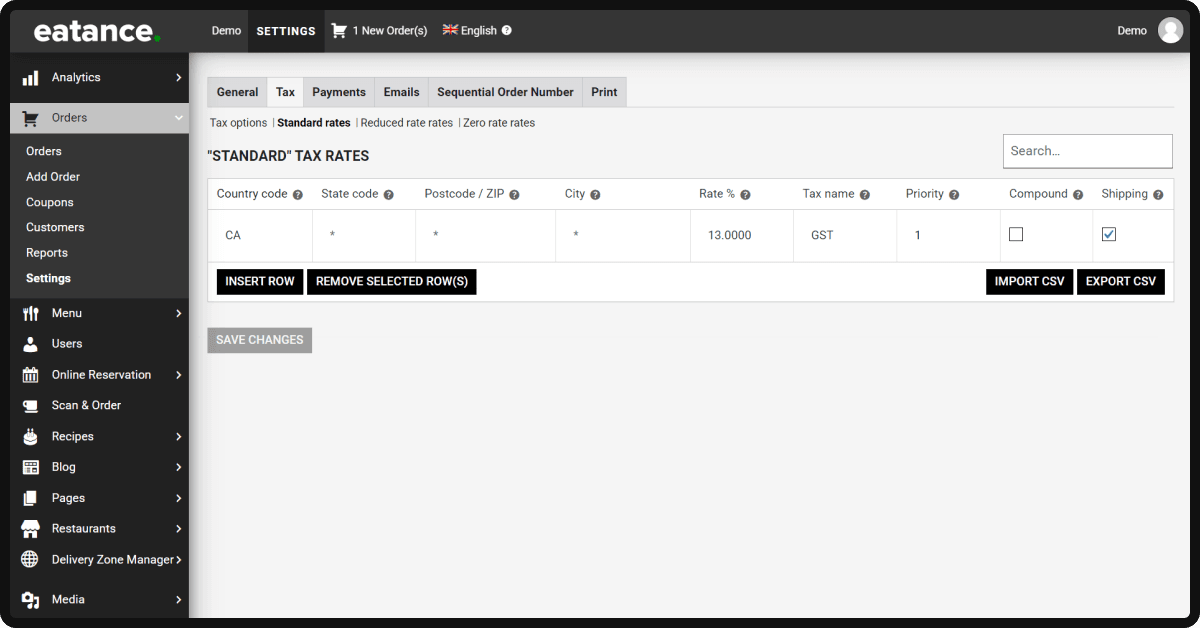
- Configure tax rates based on your country's regulations and any specific state requirements.
- Add your GST number and license information to invoices to comply with tax regulations and provide transparency to your customers.
3. Site Title and Tagline - Crafting a Compelling Brand Identity
Your site title and tagline are vital in creating a memorable brand identity. Let's optimize these elements:
- Access the admin panel and navigate to the site title and tagline settings.
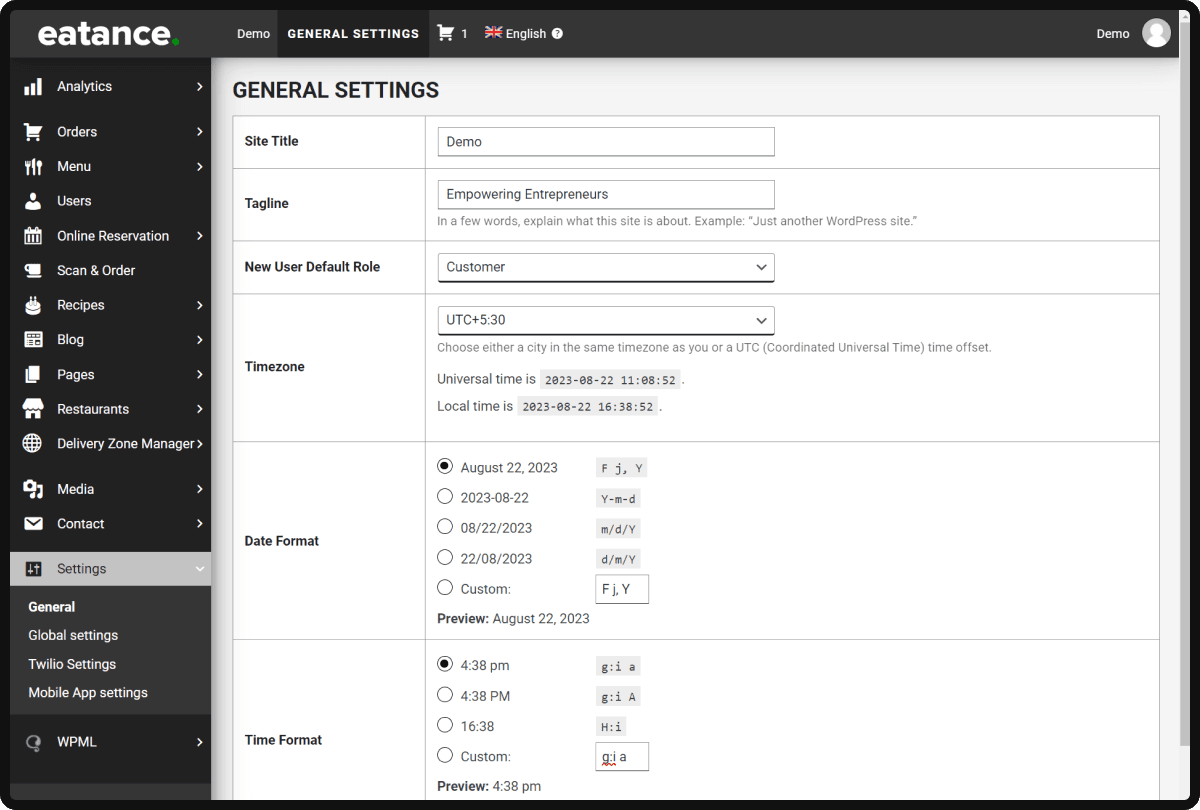
- Craft an attention-grabbing site title that reflects your restaurant's unique identity.
- Create a compelling tagline that resonates with your target audience and sets your restaurant apart.
- Harness the power of SEO by adding an appealing OG image and description to improve your website's visibility and click-through rates.
4. Delivery Zone - Streamlining Order Fulfillment
Configuring a well-defined delivery zone is essential for efficient order management. Follow these steps:
- Access the admin panel and navigate to the delivery zone settings.
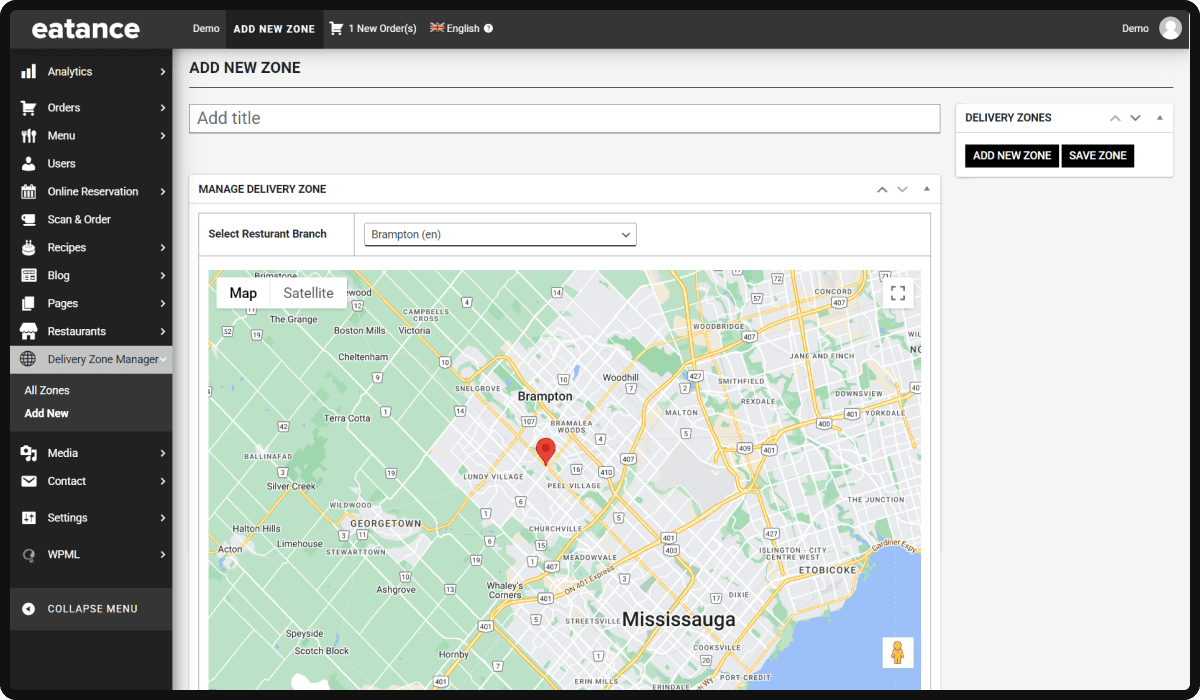
- Create a delivery zone that encompasses your desired service area.
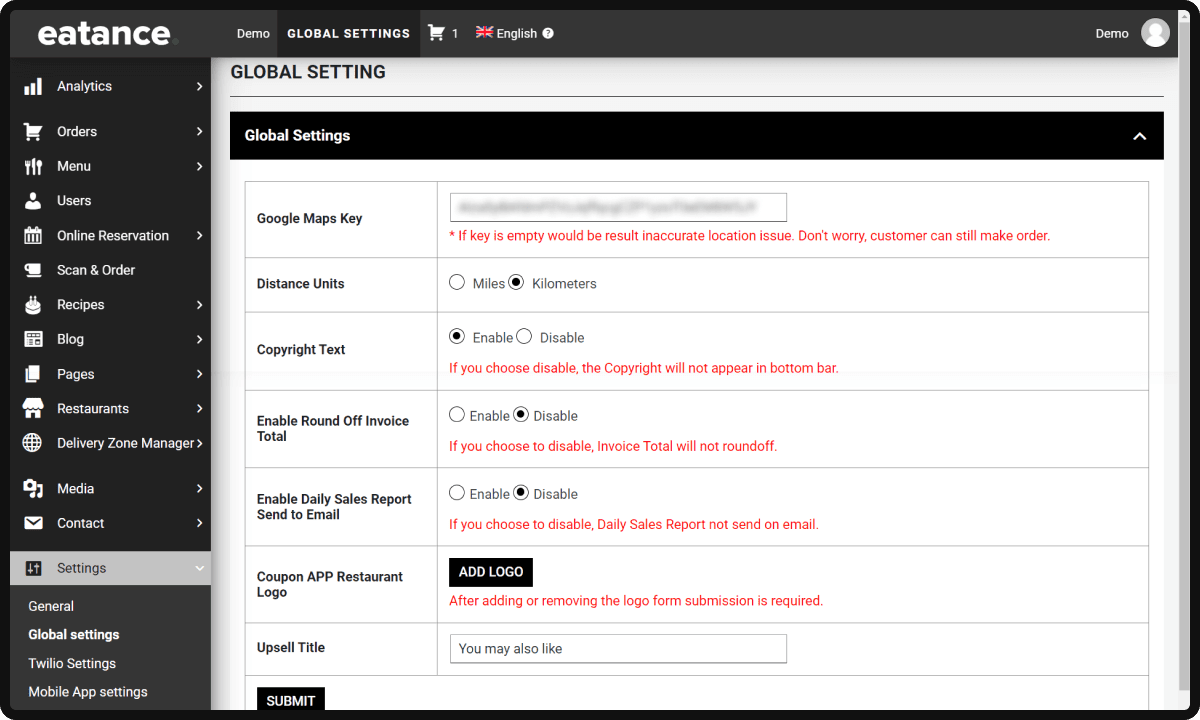
- Obtain a Google Maps API key to display the delivery zone on your website accurately.
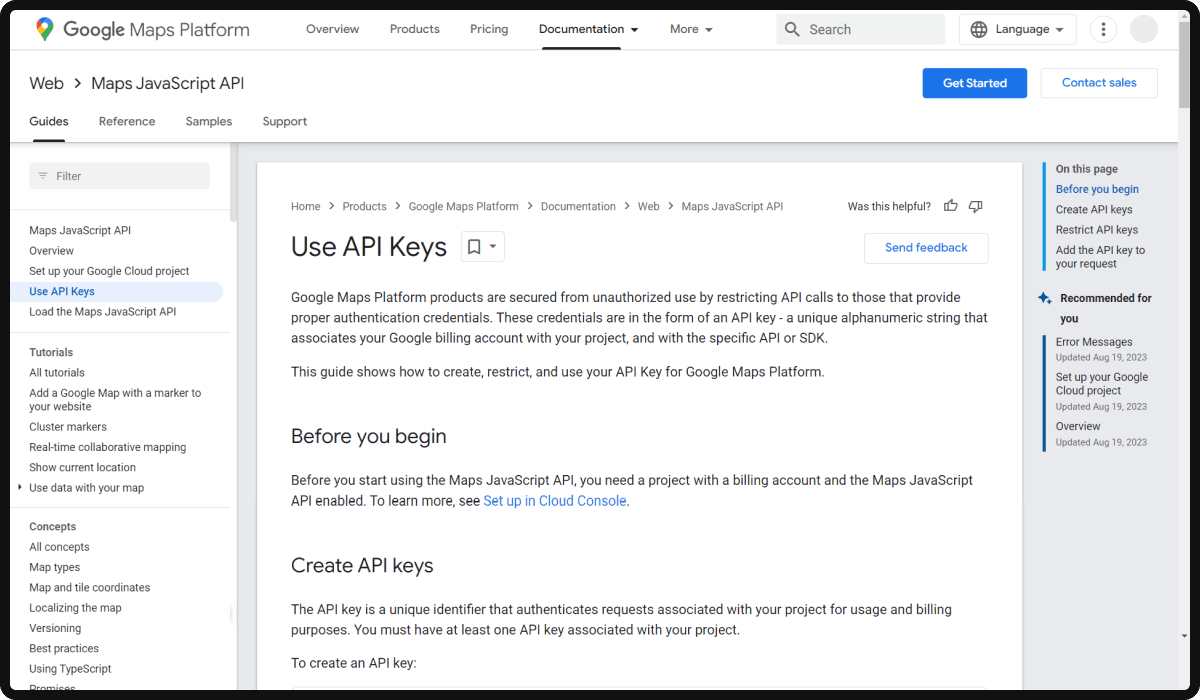
- Add the Google API key to "Google Maps Key" to create a delivery zone.
- Restrict orders from customers outside the defined zone while allowing seamless ordering for those within it.
5. Payments - Simplifying Transactions for Your Customers
Streamline the payment process to provide a seamless experience for your customers. Here's how to configure payments:
- Access the admin panel and navigate to the payment configuration settings.
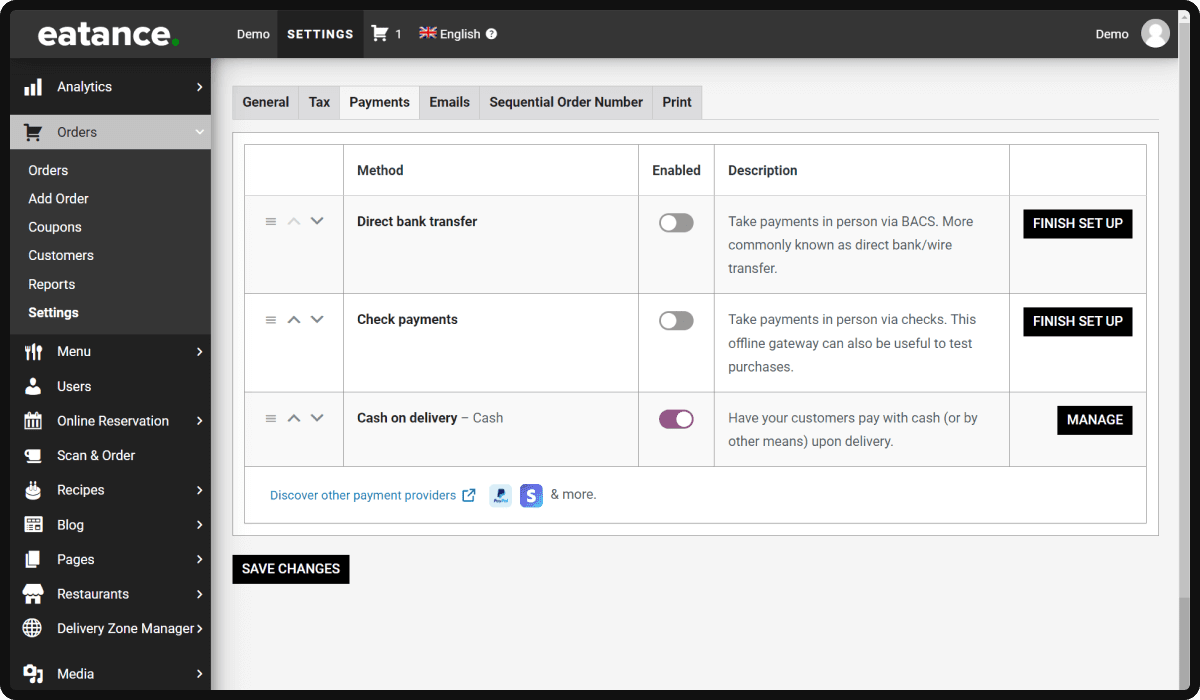
- Integrate popular payment gateways like PayPal and Stripe to offer diverse payment options.
- Set up Braintree integration provided by the PayPal company, which accepts credit cards, debit cards, and digital wallet payments.
- Ensure a secure and smooth payment experience for your customers, ultimately boosting customer satisfaction and loyalty.
Conclusion
Congratulations on mastering the essential features configuration for your restaurant builder! By leveraging Eatance's powerful tools and strategies, you'll engage a wider audience, boost customer satisfaction, and drive profitable sales. Create a worry-free, sales-optimized website that showcases your brand's value effortlessly. Embrace these insights, elevate your online presence, and watch your restaurant thrive digitally. With Eatance Restaurant Builder by your side, culinary success awaits. Let's turn your restaurant into a happy, thriving hub of culinary delights, one satisfied customer at a time.
Get ready to savor the sweet taste of achievement!!