Welcome to the user manual for adding orders with the Eatance Restaurant Builder. This powerful tool is designed to simplify the process of managing orders and ensuring the prompt and accurate delivery of customer requests.
Step 1: Log In to Your Eatance Account
- Enter your credentials on the Eatance website to access your account.
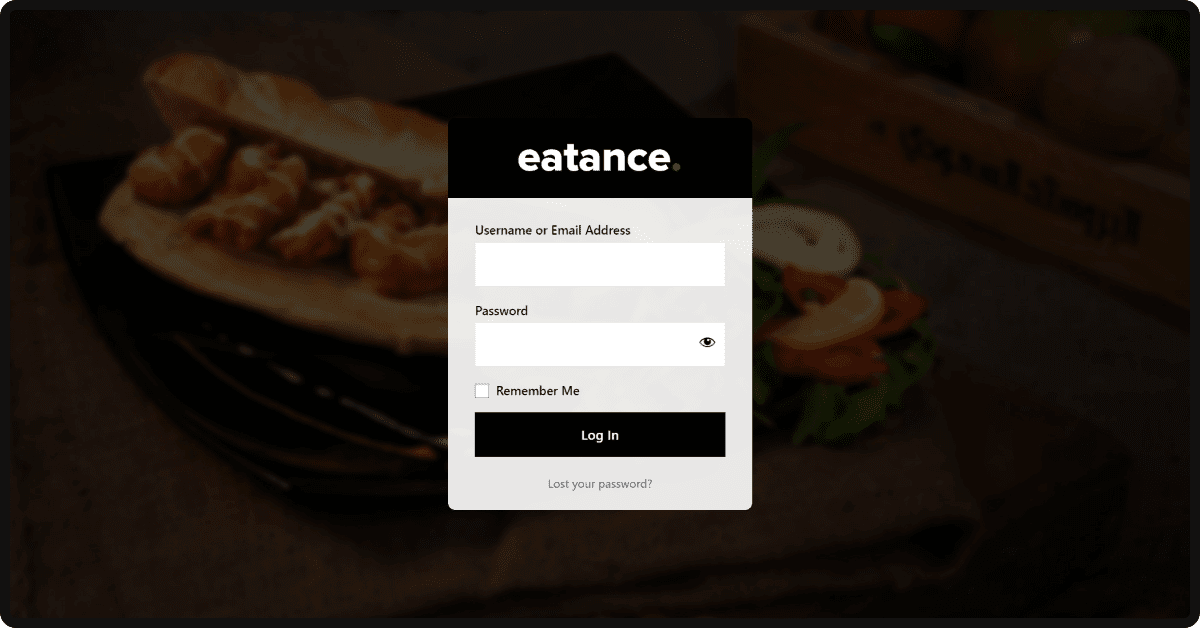
- Once logged in, you will be directed to the Eatance admin panel
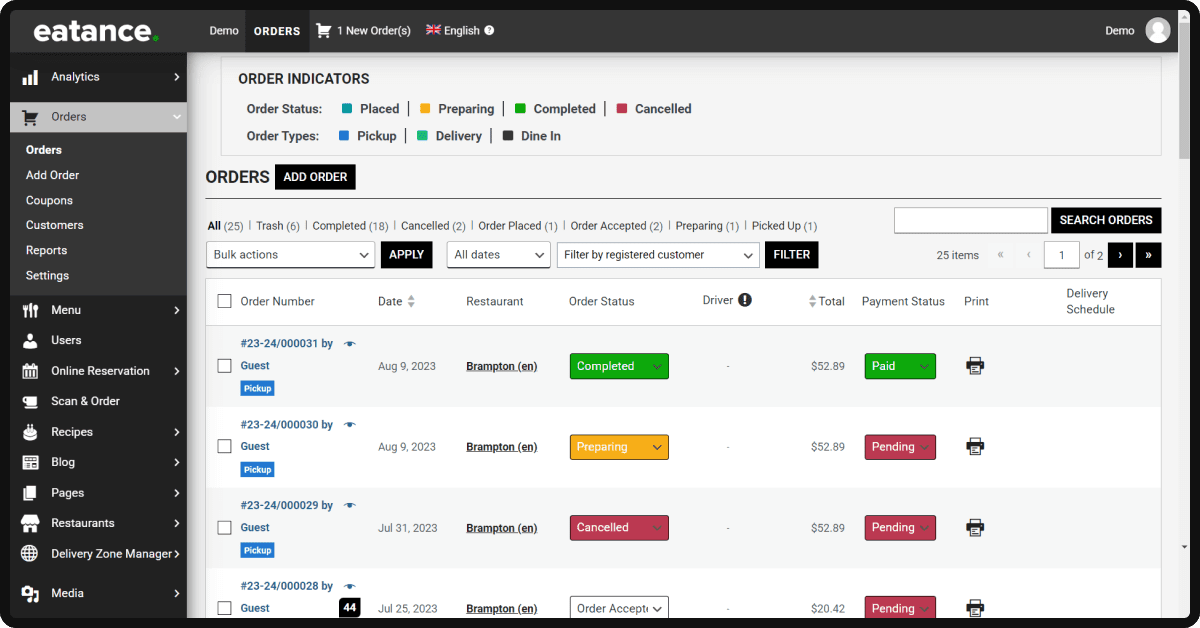
Step 2: Access the "Orders" Page
- Select the "Orders" option from the admin panel's main menu.
- This will take you to the "Add Order" page, where you can add orders.
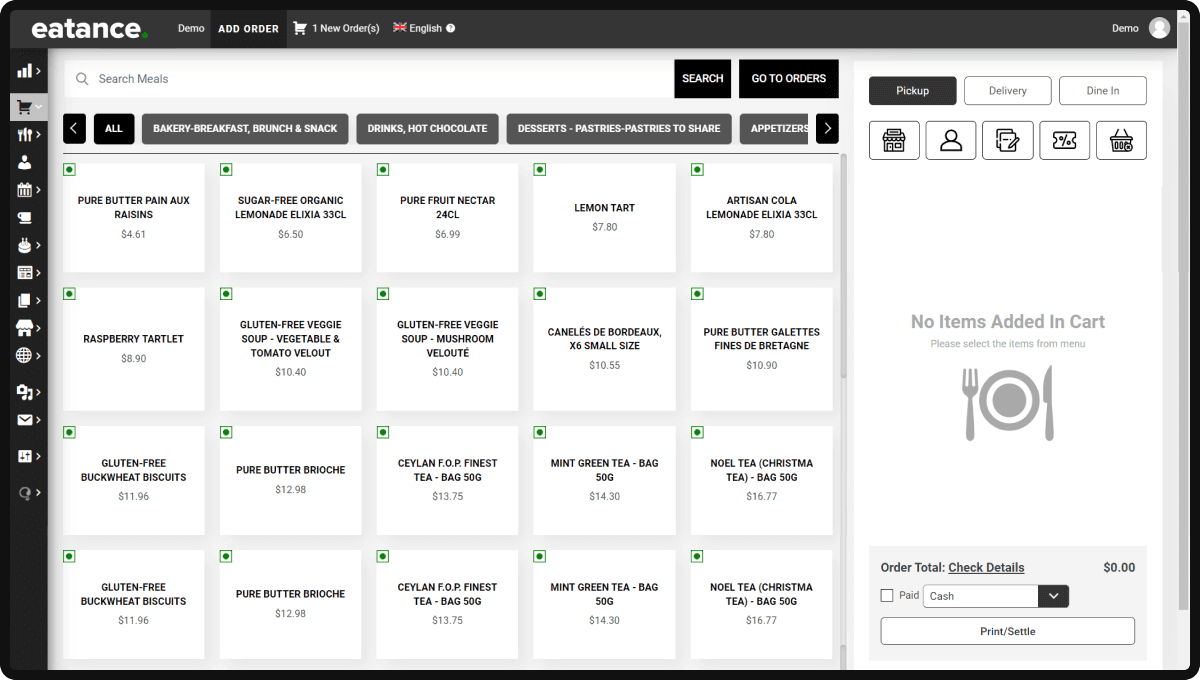
Step 3: Adding Pickup Orders
- Search or Scan Products
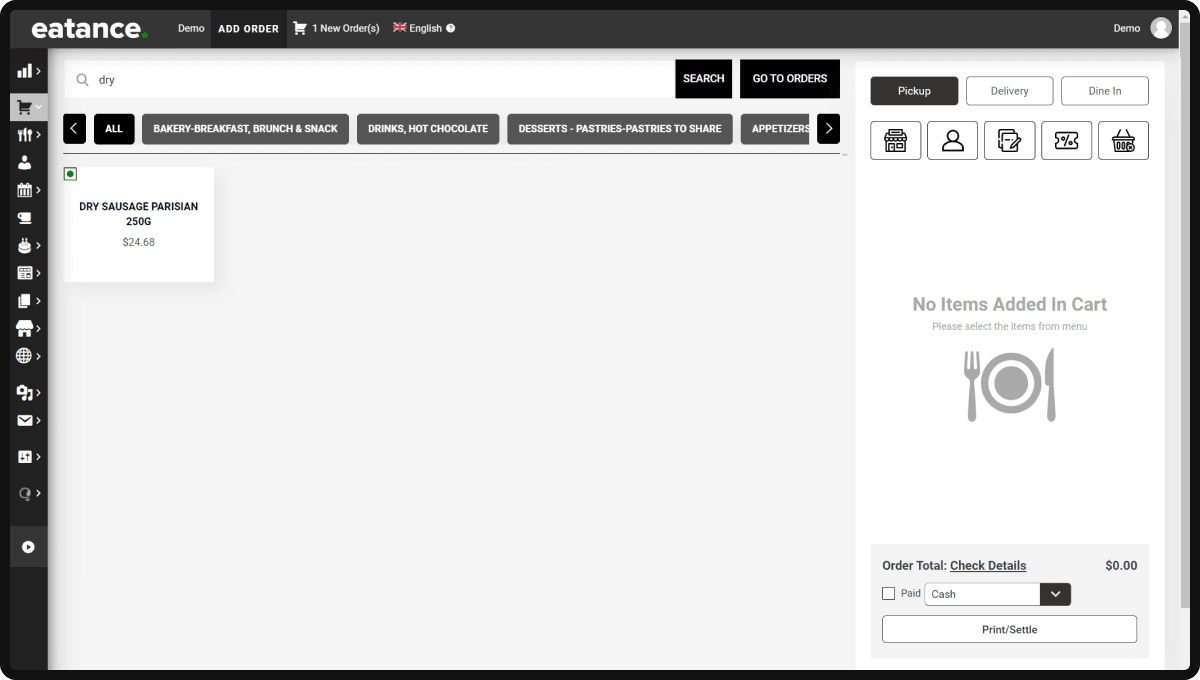
- Use the search bar or code scanner to find the desired product on the "Add Order" page.
- Click "Add" to include the product in the order.
3.1 Manage Customer Details
- If the customer is a regular, enter their phone number to autofill their details from the database.

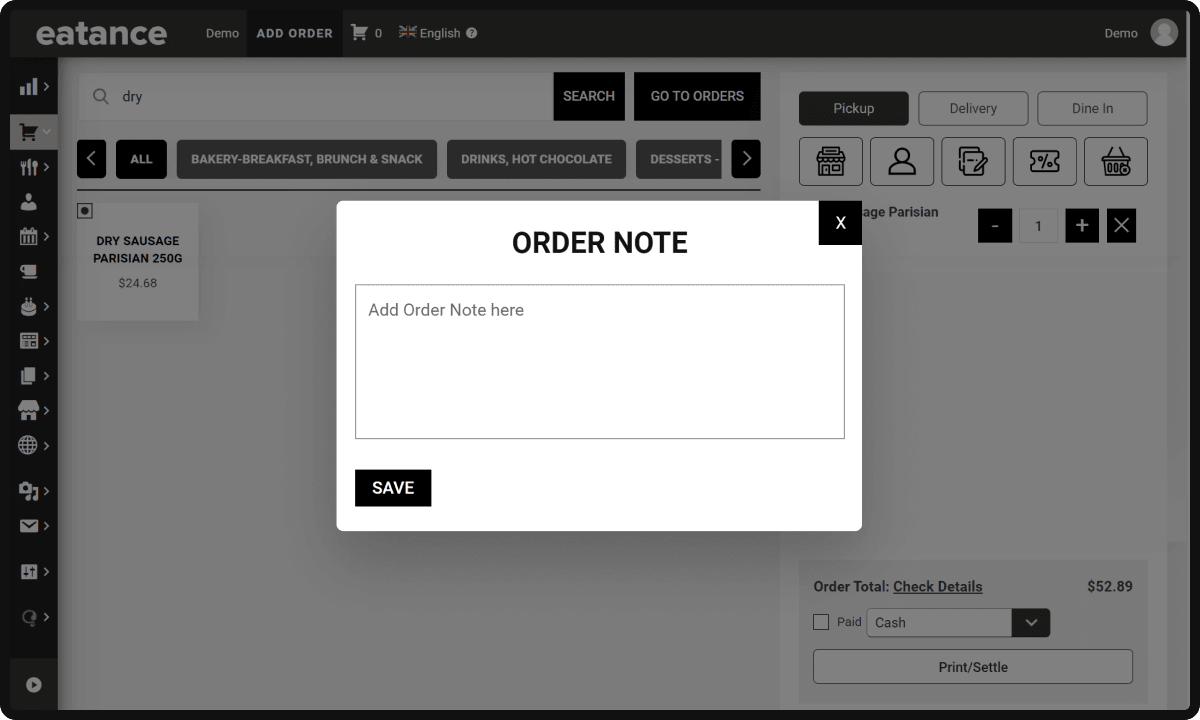
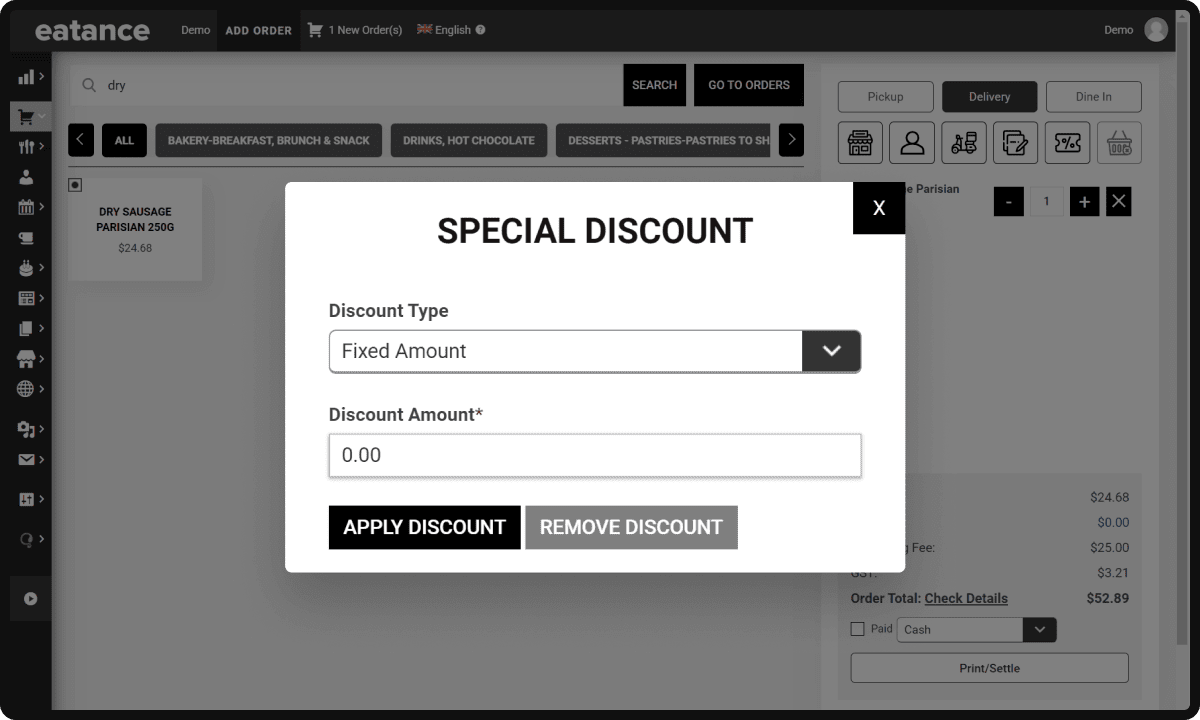
- Apply discounts or add notes as needed.
3.2 Finalize the Order
- Review the order summary, including the total amount and tax.
- Optionally, round off the amount if desired.
- Mark the payment status and select the payment method.
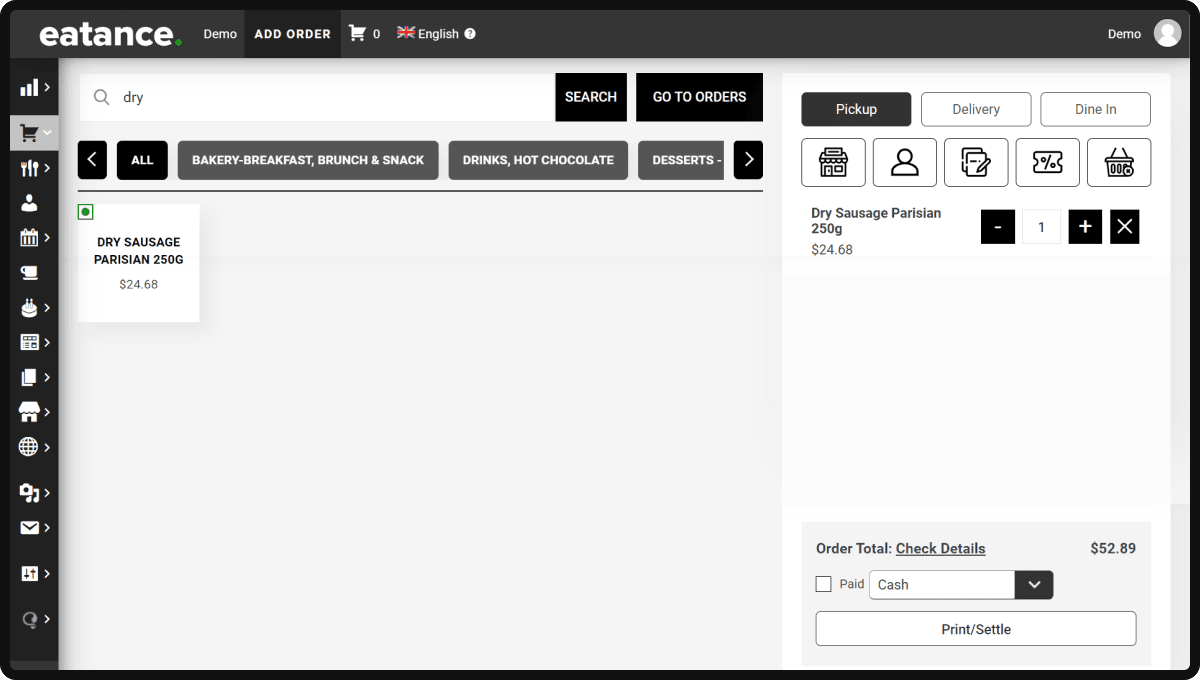
- Click "Print/Settle" to print the receipt and close the order.
Step 4: Adding Delivery Orders
4.1 Select the Customer
- Enter the customer's phone number or name to select them for the delivery order.
- If the customer is in your database, their address details will be auto-filled; otherwise, enter them manually.
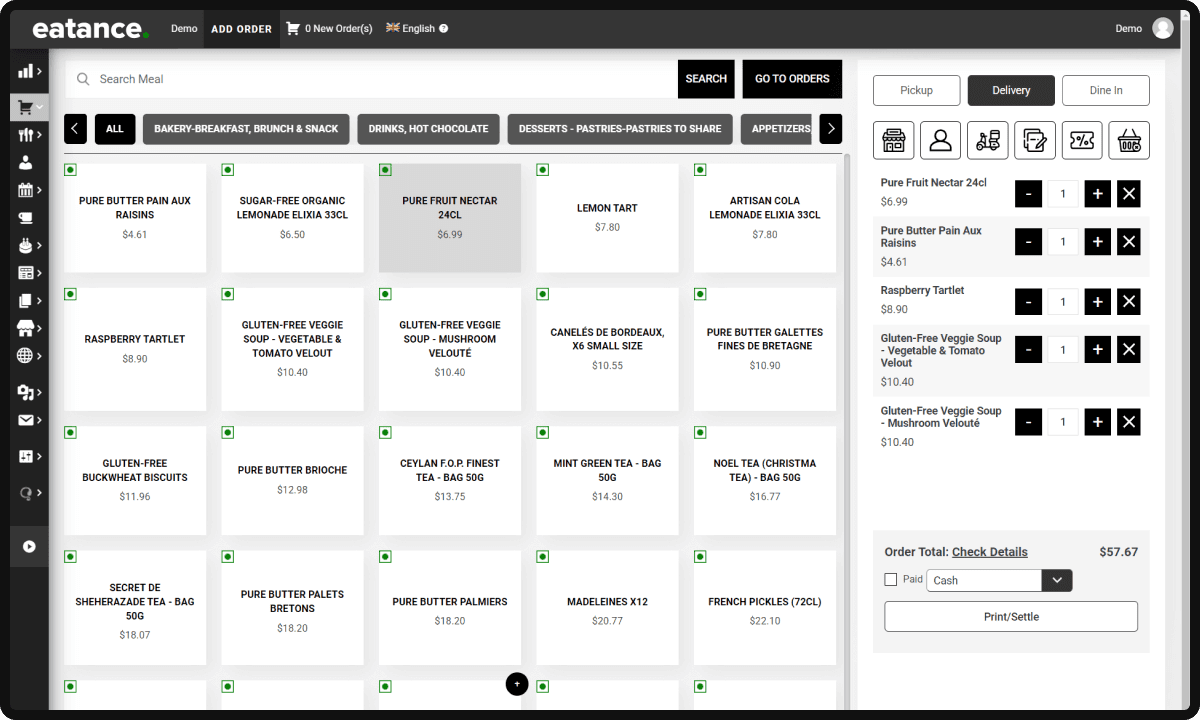
4.2 Add Products and Apply Discounts/Notes
- Search or scan the products ordered by the customer.
- Apply discounts or add notes as required for the order.
4.3 Assign a Driver
- Choose a driver from the list of available drivers to fulfill the delivery.
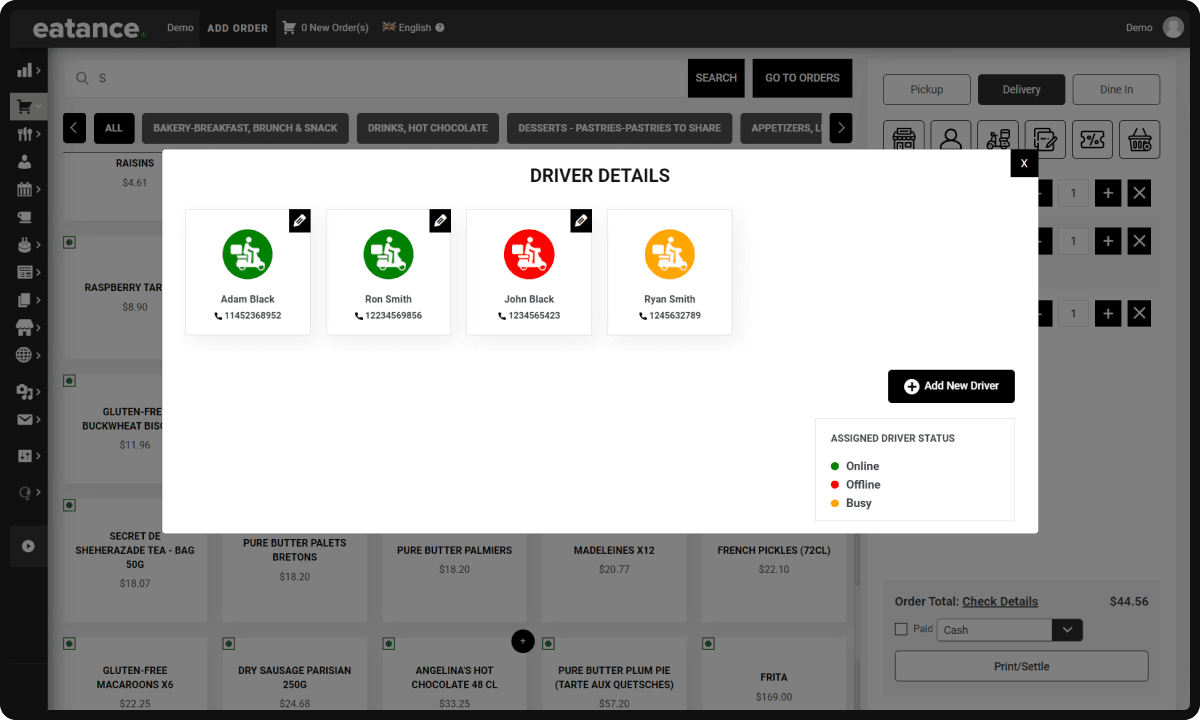
- This will assign the order to the selected driver and notify them via SMS or email.
4.4 Finalize the Order
- Review the order summary, including the total amount and tax.
- Round off the amount if needed.
- Mark the payment status and select the payment method.
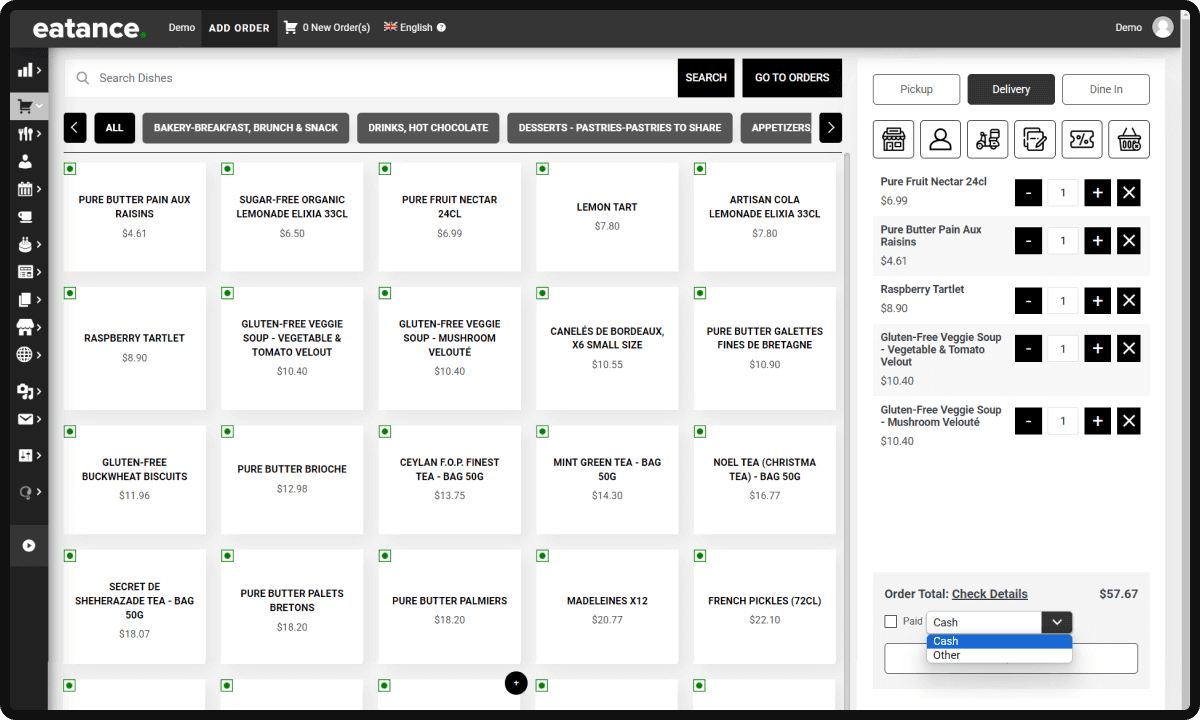
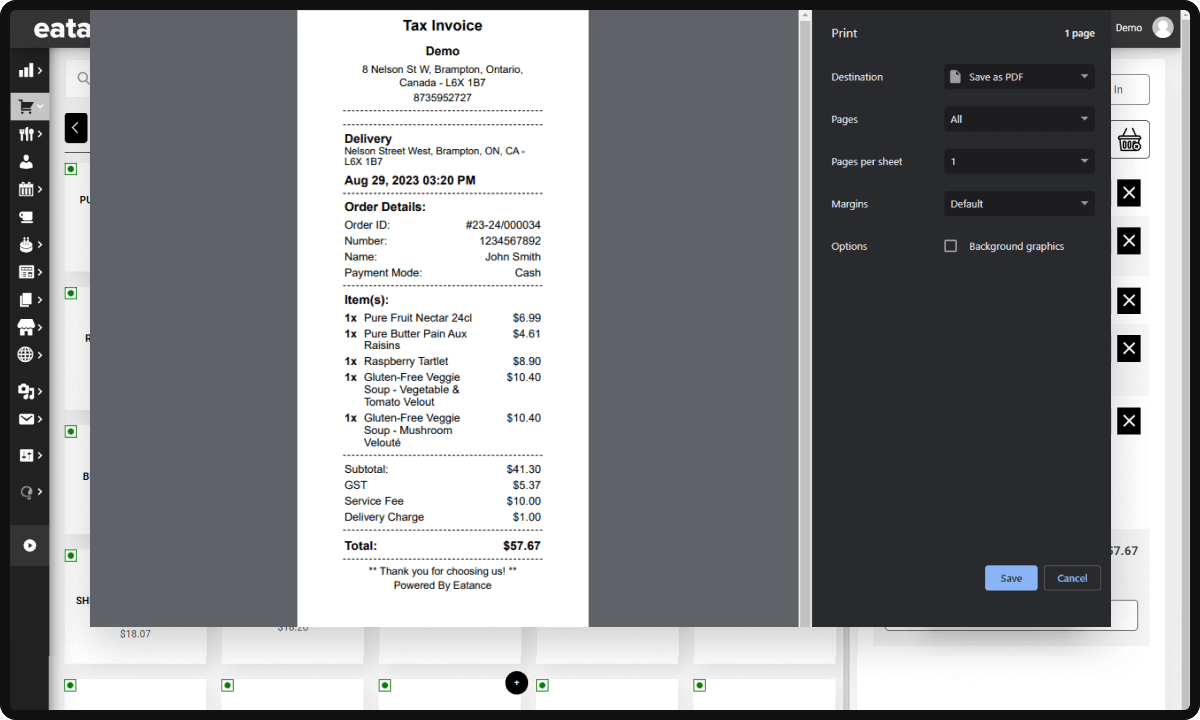
- Click "Print Settle" to print the receipt and close the order.
Step 5: Adding Dining Orders
- 5.1 Select the Table
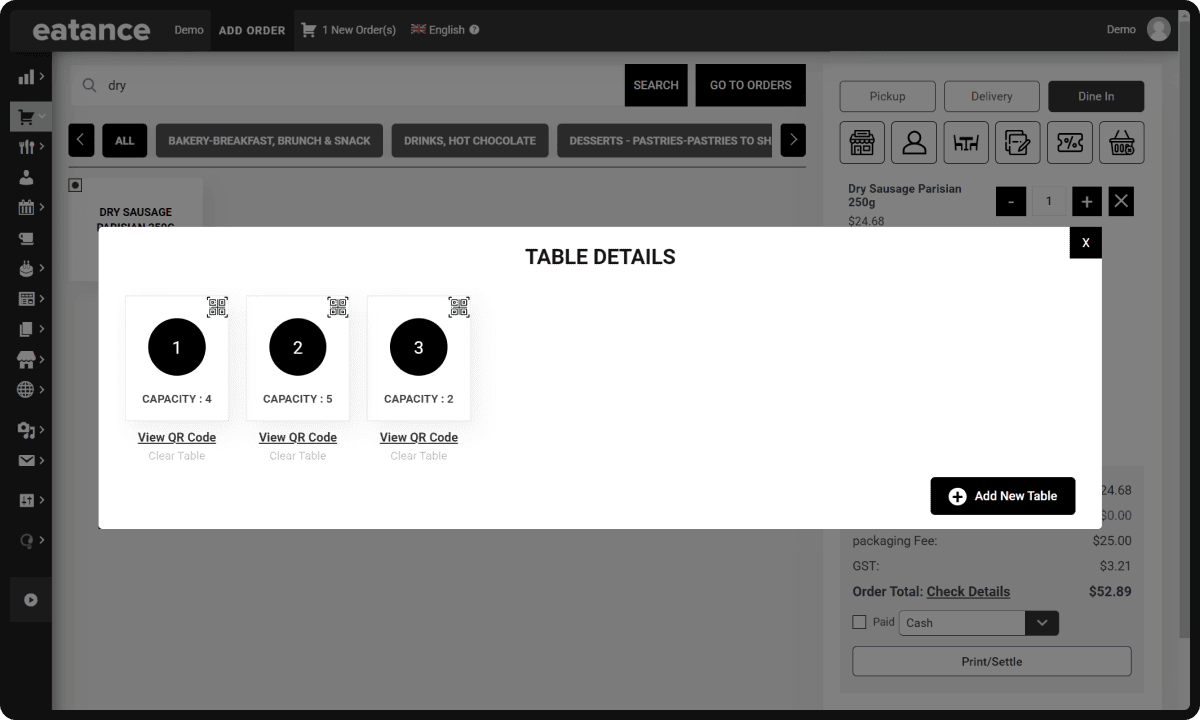
- Use the grid view to select the table where the customer is seated.
5.2 Add Products and Apply Discounts/Notes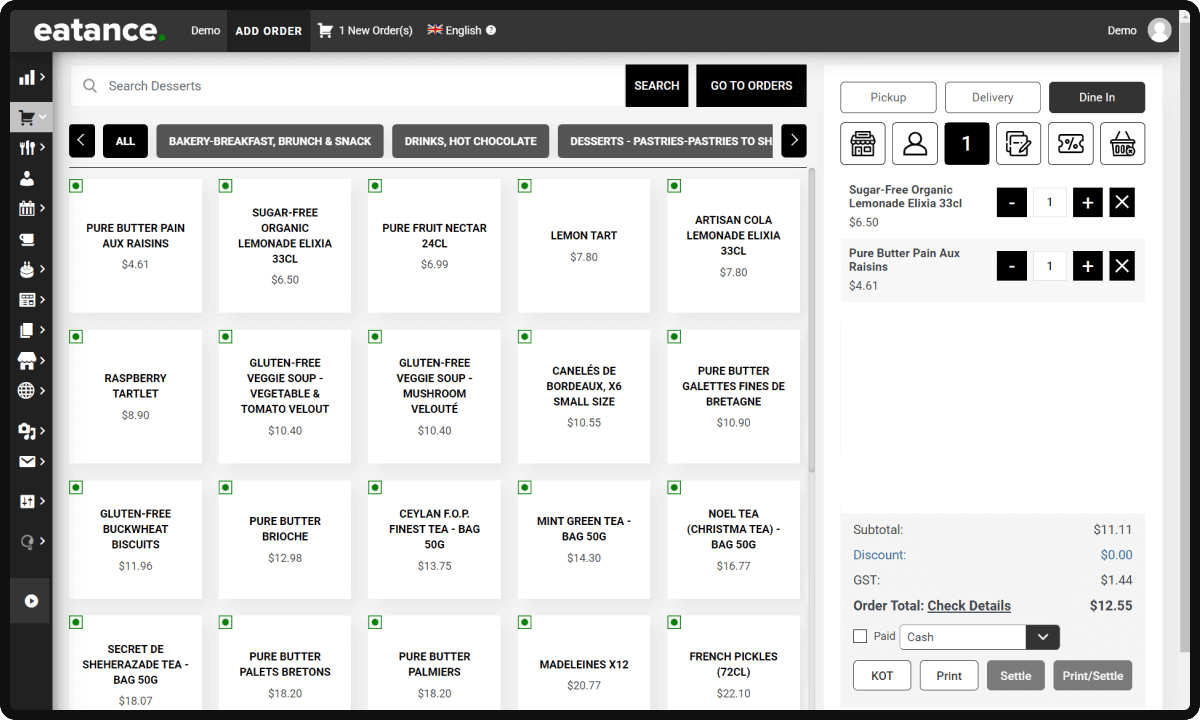
- Search or scan the products ordered by the dining customer.
- Apply discounts or add notes if required.
5.3 Send the Order to Kitchen (KOT)
- Click "KOT" (Kitchen Order Ticket) to send the order details to the kitchen.
- This notifies the kitchen staff to prepare the dishes promptly.
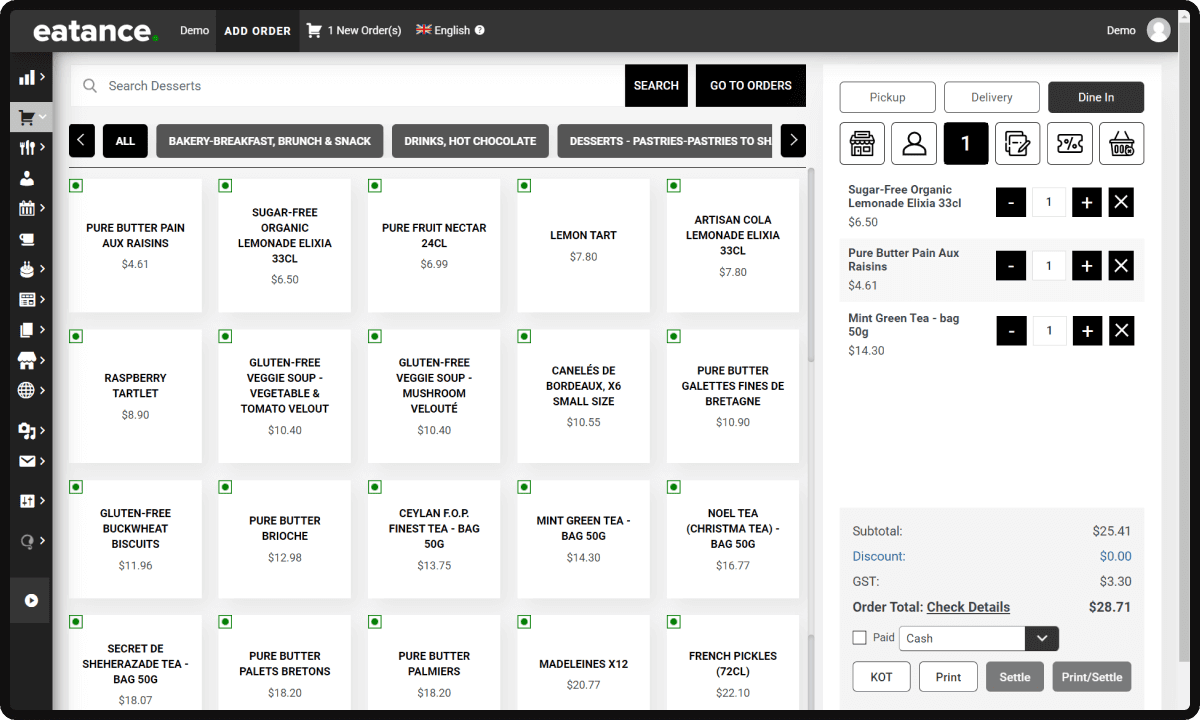
5.4 Additional Orders to the Same Table
- If the customer orders more items later, add them to the same order.
- Click "KOT" again to send only the new items to the kitchen without repeating previous ones.
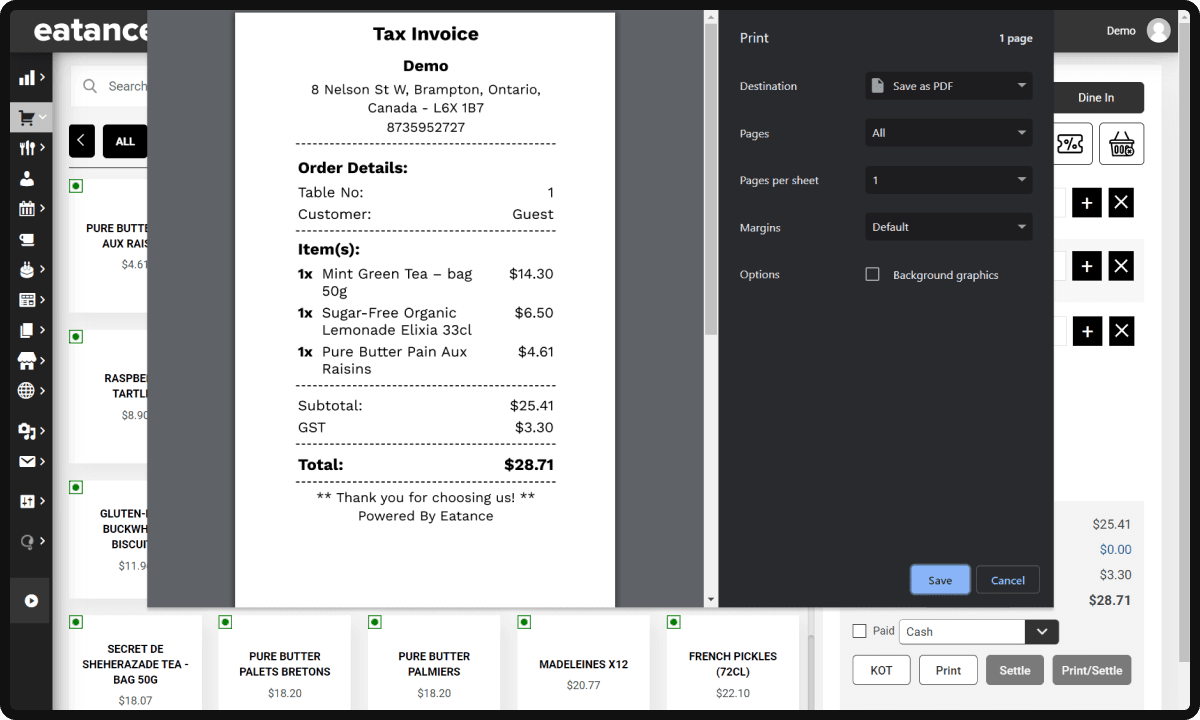
5.5 Finalize the Order
- Review the order summary, including the total amount and tax.
- Optionally, round off the amount if desired.
- Mark the payment status and select the payment method.
- Click "Print/Settle" to print the final receipt and close the order.
- Congratulations! You've learned how to add orders using the Eatance Restaurant Builder efficiently. By following the steps in this user manual, you can seamlessly manage your restaurant's orders, ensuring prompt and accurate service for your valued customers.
- Should you have any questions or need further assistance, please do not hesitate to contact Eatance support.