Believe it or not, 'Customizable Product' is now the buzzword among the foodies. A customizable food dish takes the whole eating experience closest to perfection as it is prepared based on the customer's finest preferences. It is like ordering food the way you want it to be.
How cool is that? A custom dish is any food dish on the menu with options related to the size of the portion, taste preferences, multiple toppings to be added, etc. Users or customers must select the options before confirming the final order.
It is an incredible option for business owners as doing this will help you increase the order value, even on a single dish.
Let us learn by the steps below to create a customizable product for your restaurant menu using the Eatance Restaurant Builder platform.
Step 1: Log In to Your Eatance Account
All the admin users must be given a set of credentials with a username and password and a specific URL of the Eatance Restaurant Builder.
- Go to the URL where you will be asked to enter your admin username and password.
- Enter your credentials on the Eatance website to access your account.
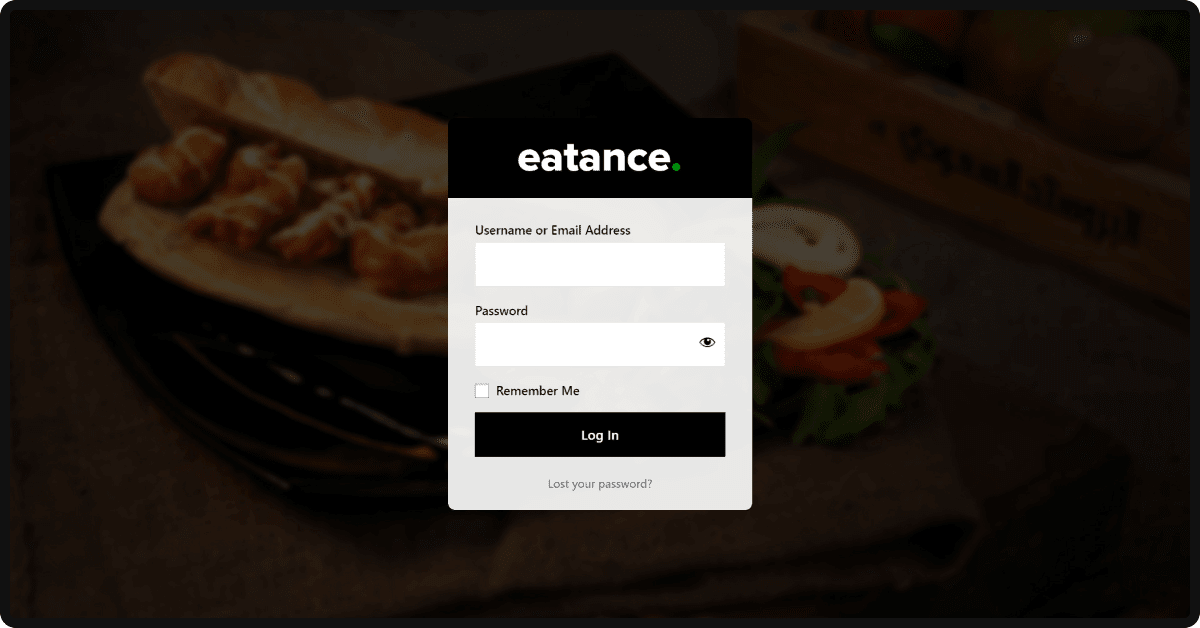
- Once logged in, you will be directed to your Eatance admin panel.
Step 2: Find the Menu Option and Page to Edit
- Select the "Menu" section on the left from the admin panel's main menu.
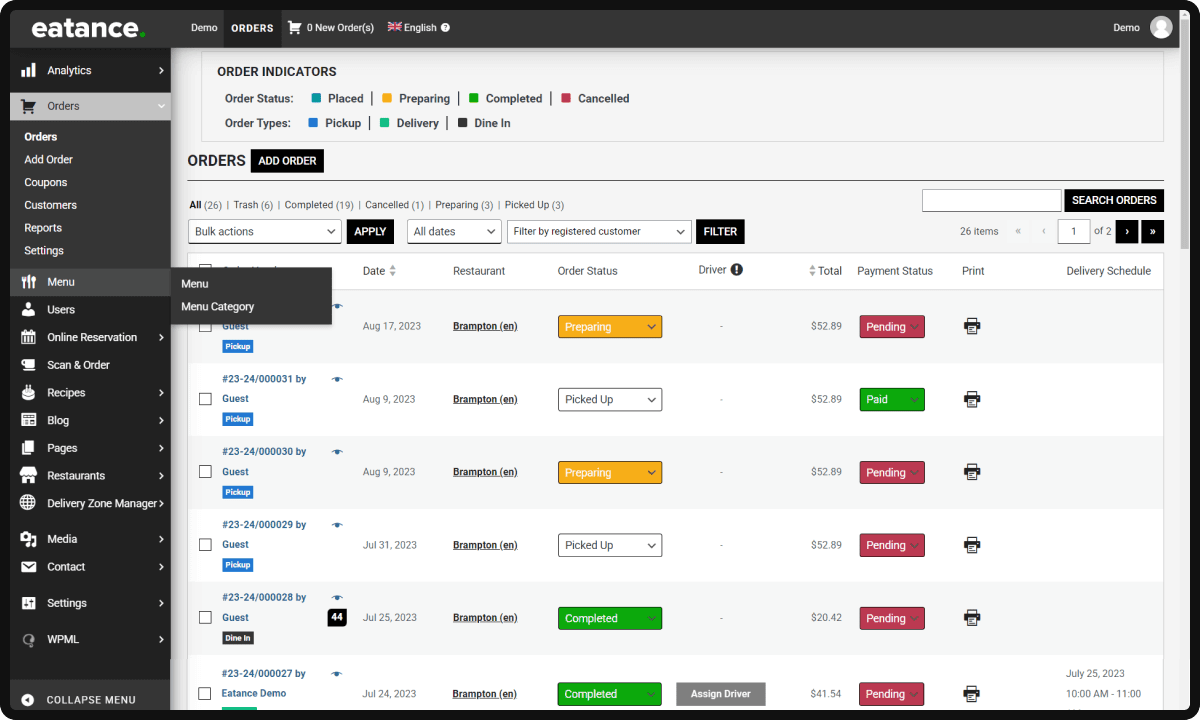
- Find the "Edit Product" under the "Menu" option, where you have to create a customizable food dish.
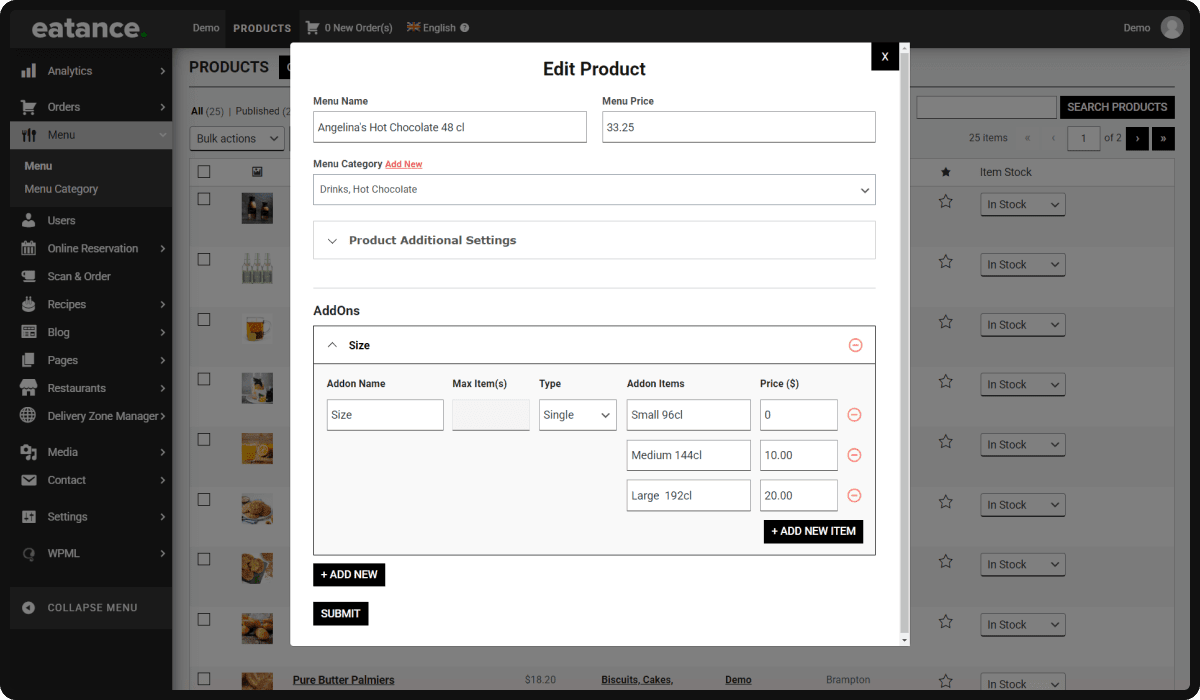
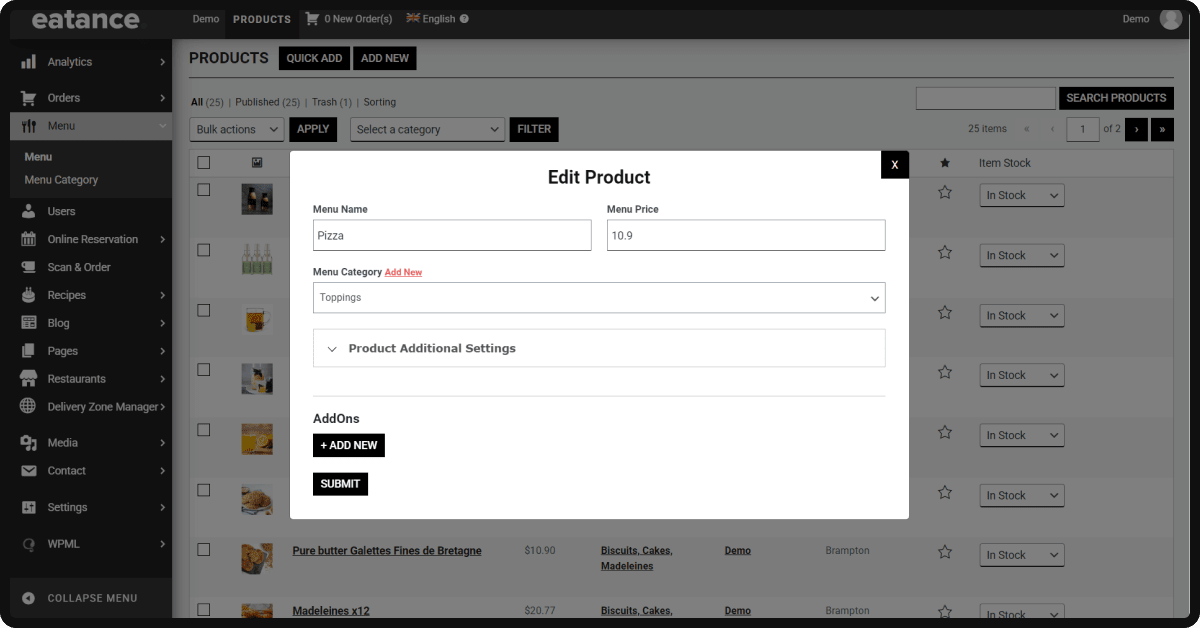
Step 3: Configuration of Creating a Custom Food Dish
- Add the name of the food dish in "Menu Name".
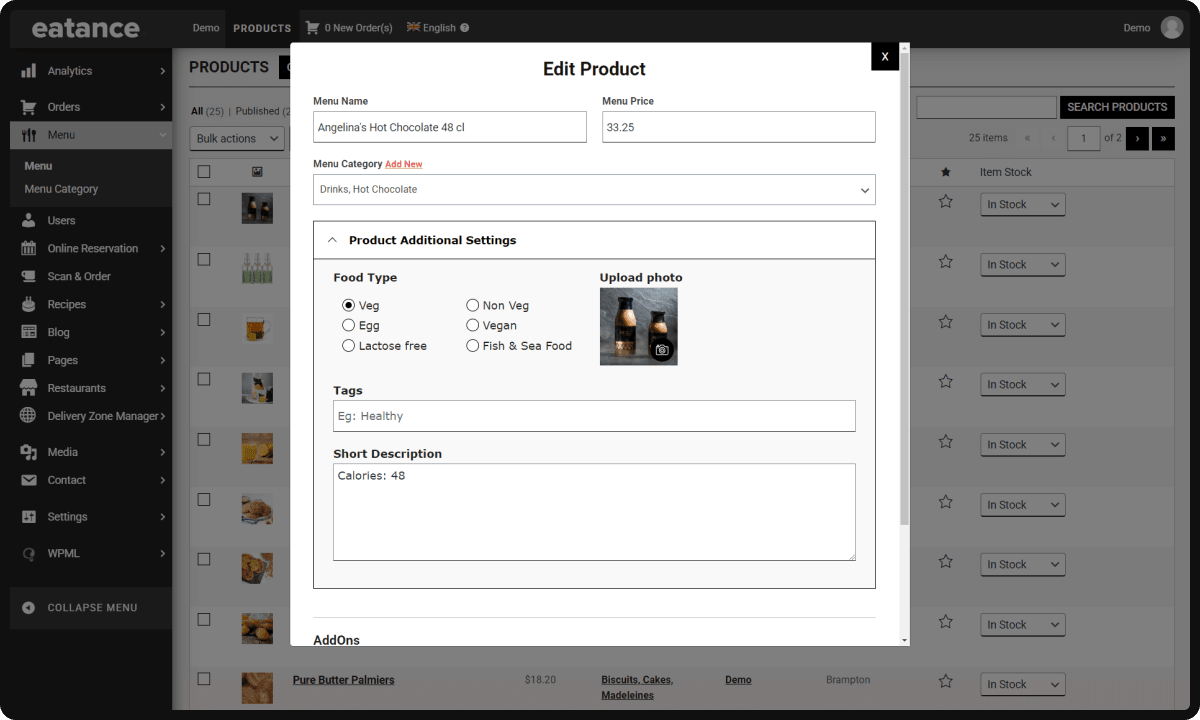
- Select the base value of the dish in "Menu Price".
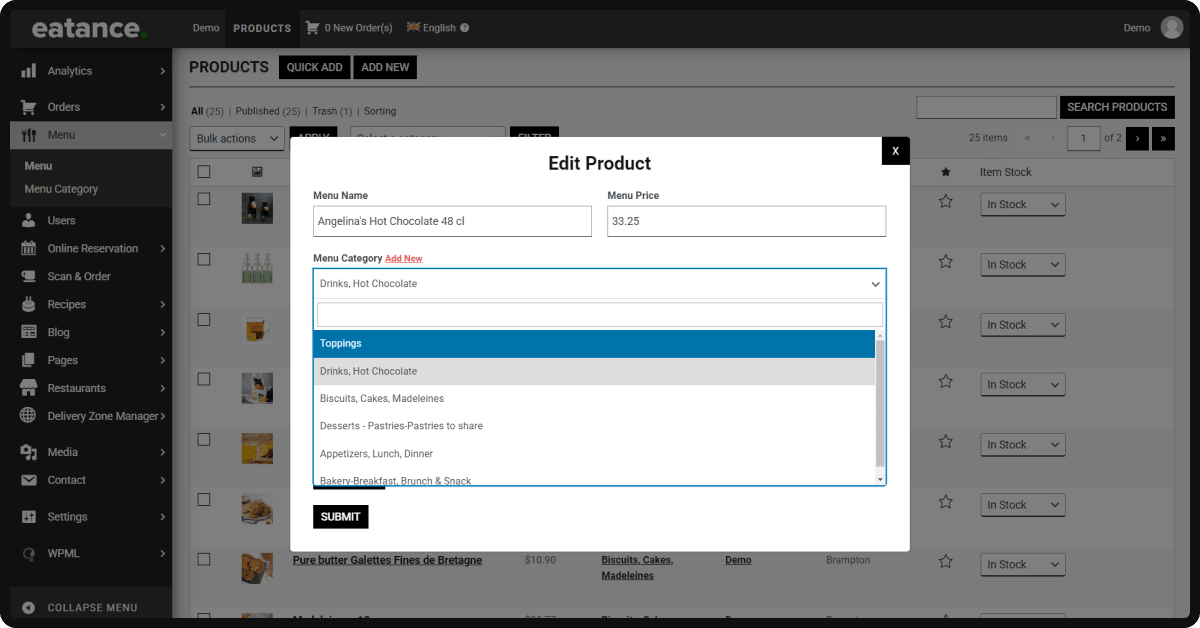
- "Menu Category" helps you assign a particular food category to this dish. (For Example Pizza/Desserts/Beverages).
- Click "Product Additional Settings" to configure customizations based on your preferences.
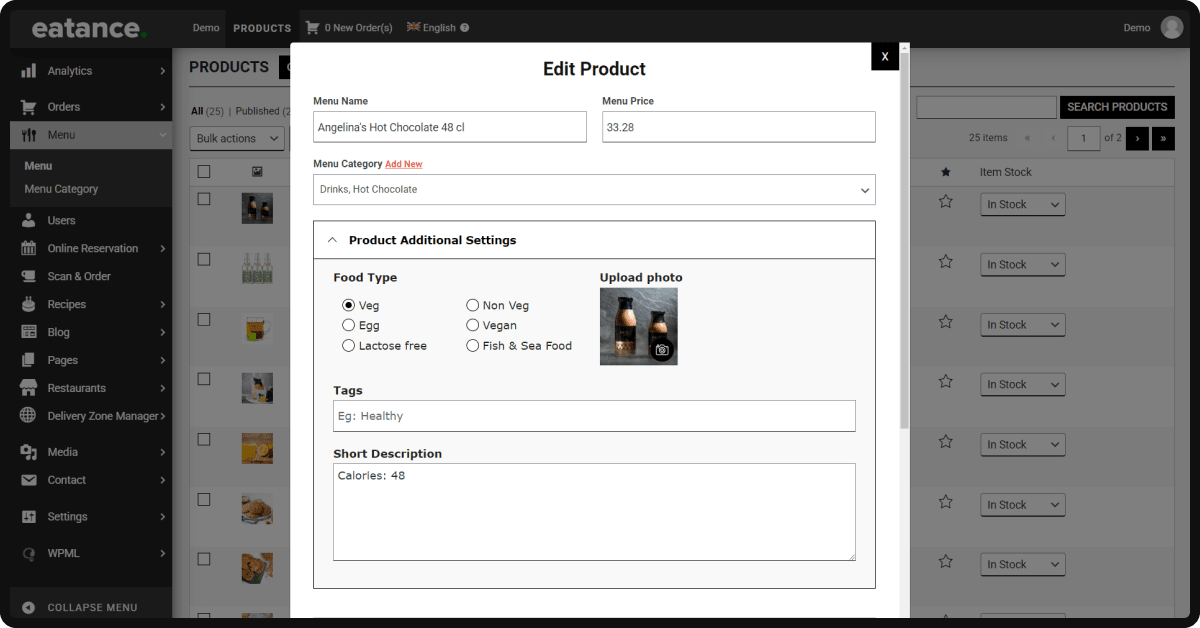
- "Food Type" shows multiple options from which you can select one related to your chosen dish.
- "Tags" is optional if you wish to add relevant tags for this dish.
- The "Short Description" box allows you to write a short yet engaging description of a food dish for your customers.
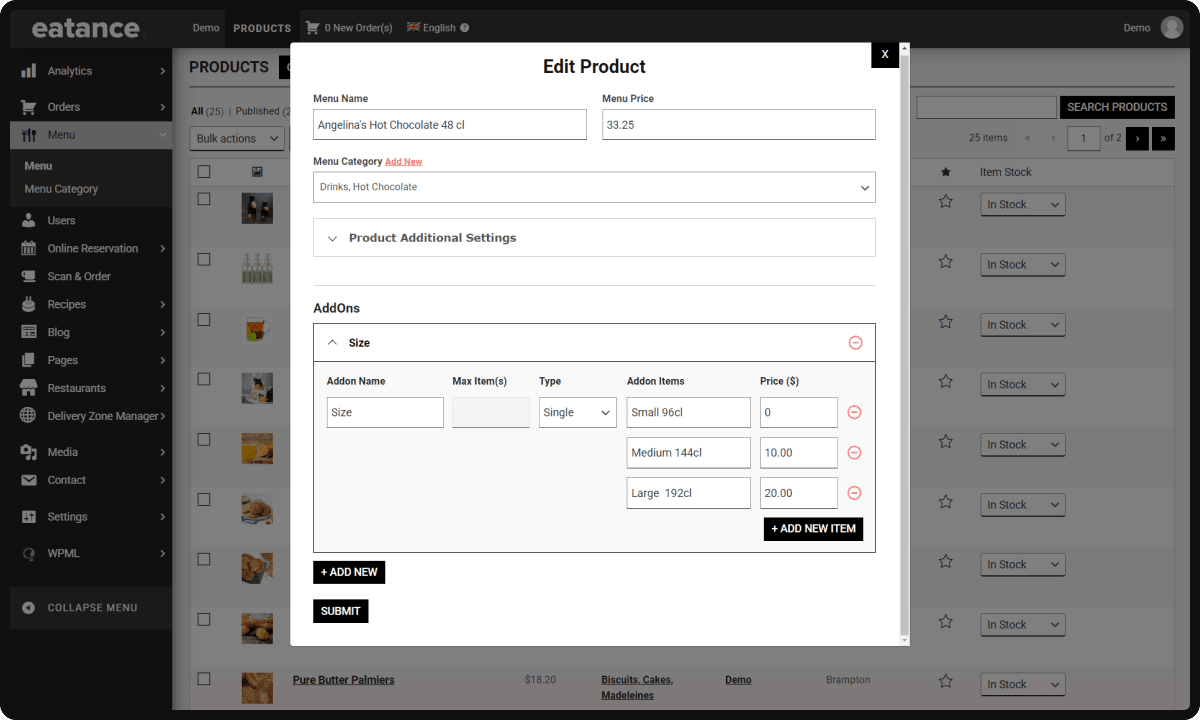
Step 4: Configuring the Addons
AddOns will extend and present the options to be selected to finalize further customization.
- Click on "Size" under AddOns.
- Two critical details you must consider are the Addon Name and Type.
- Add an appropriate name to the Addon you wish to offer (Example: Size)
- Select Single or Multiple from the dropdown under "Type".
- Select "Single" if you want your customers to select any single type from multiple options. (Example: Size selection has to be single between Large/Medium/Small).
- Select "Multiple" if you want your customers to select multiple add-ons.
- You can mention all the options under "Addon Items".
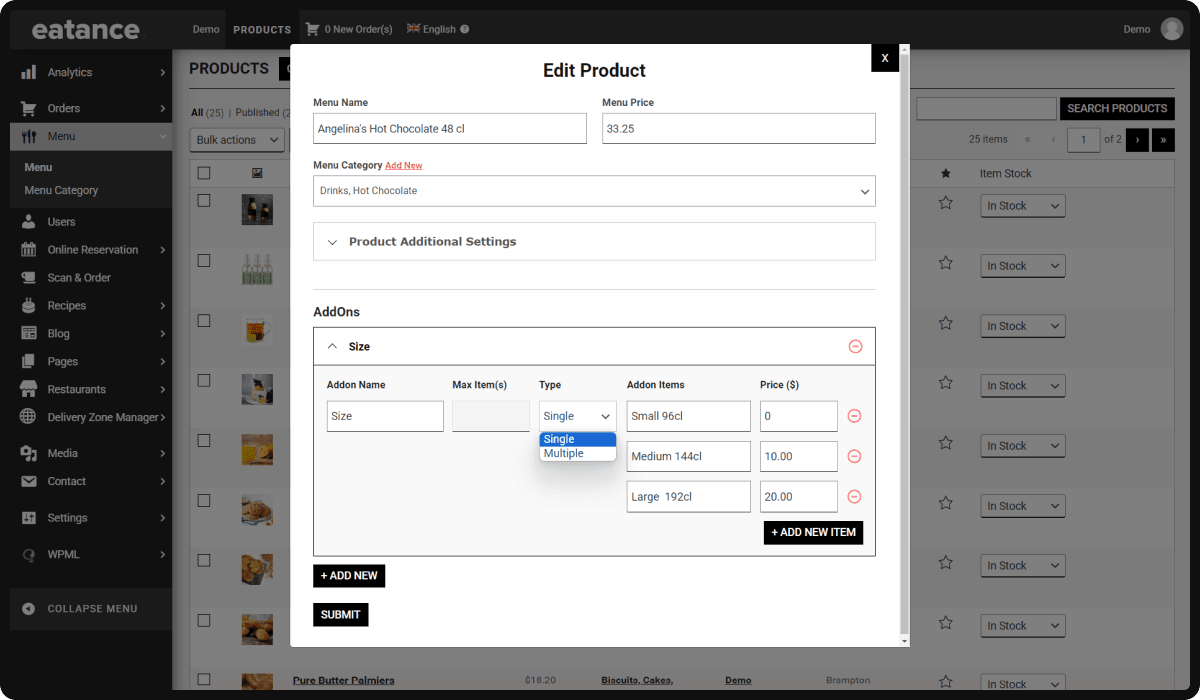
- Select the base value for every option under "Price ($)".
Step 5: Configuring Toppings Section
- It has the same selection, just like we saw in the Addon configuration.
- Choose and select the name for this configuration (Example: Toppings)
- Remember that you must select "Multiple" under "Type" here. This will allow your customers to choose multiple toppings for the dish.
- Mention the appropriate prices for the list of toppings under Addon Items.
- Click on "Submit" to save the configuration.
That's it!! Congratulations!!
You have now learned the way to create a custom product. Enjoy its benefits as they are set to raise the order value and cart value significantly.