Consider manually managing a restaurant menu that is also known as a product listing page and through a top restaurant builder like Eatance. With experience, menu management is the easiest when done with the Eatance Restaurant Builder compared to manual control.
This Eatance Restaurant Builder user manual will show you the easiest way to manage your menu page. So, let us get started!
Step 1: Log In to Your Eatance Account
All the admins are given a set of credentials with a username and password and a specific URL of the Eatance Restaurant Builder.
- Go to the URL where you will be asked to enter your admin username and password.
- Enter your credentials on the Eatance website to access your account.
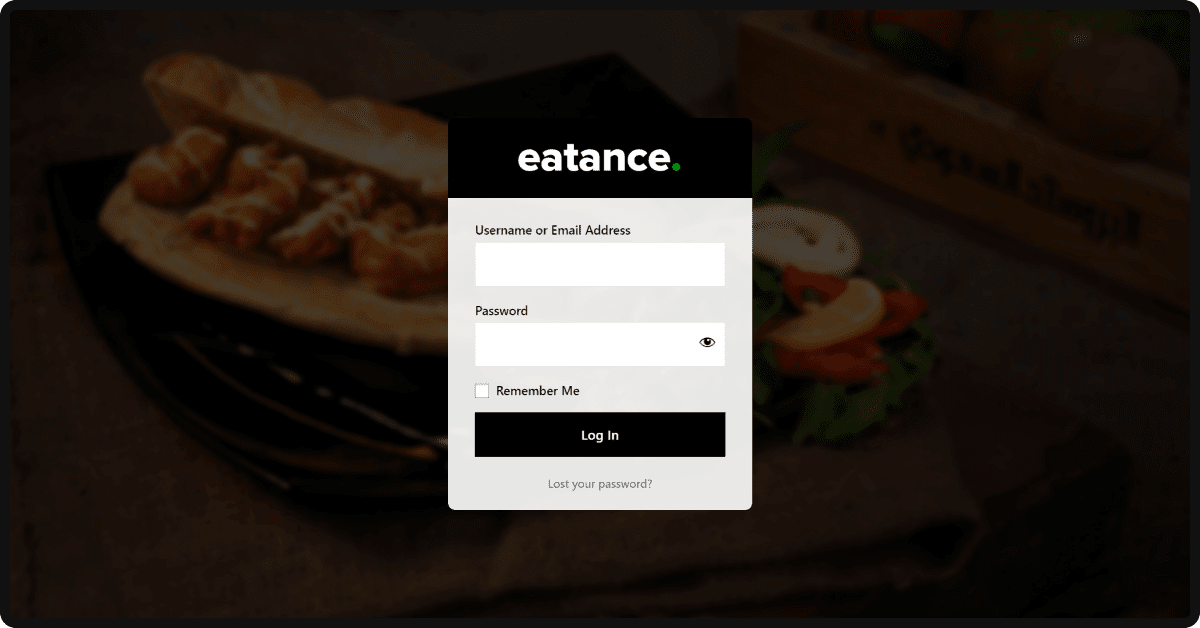
Once logged in, you will land on your Eatance admin panel.
Step 2: Find the Menu Option and Page to Edit
- Select the "Menu" section on the left from the admin panel's main menu.
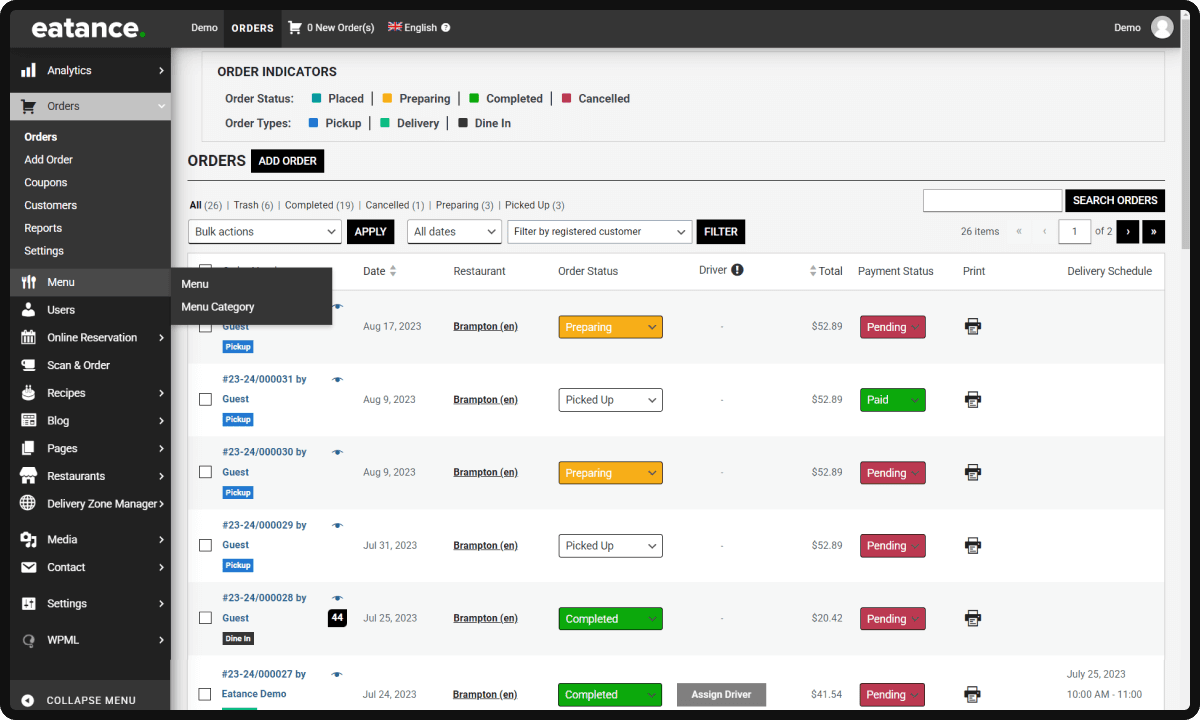
- Clicking the "Menu" will show two subcategories named "Menu" and "Menu Category", respectively.
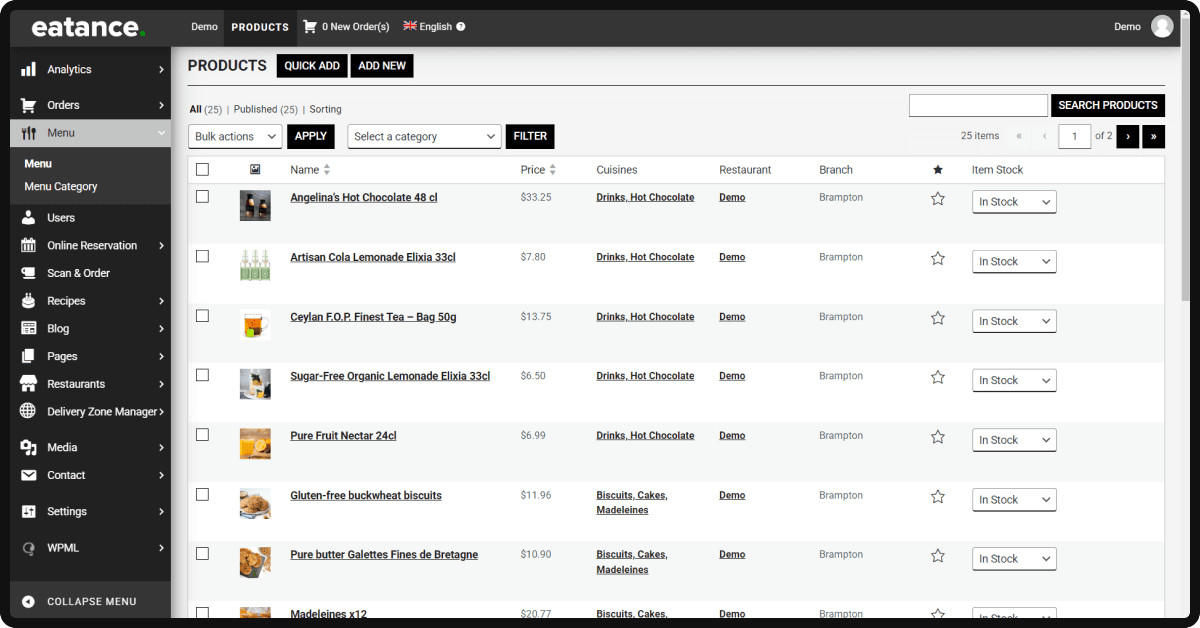
Step 3: Click on "Menu Category" Option
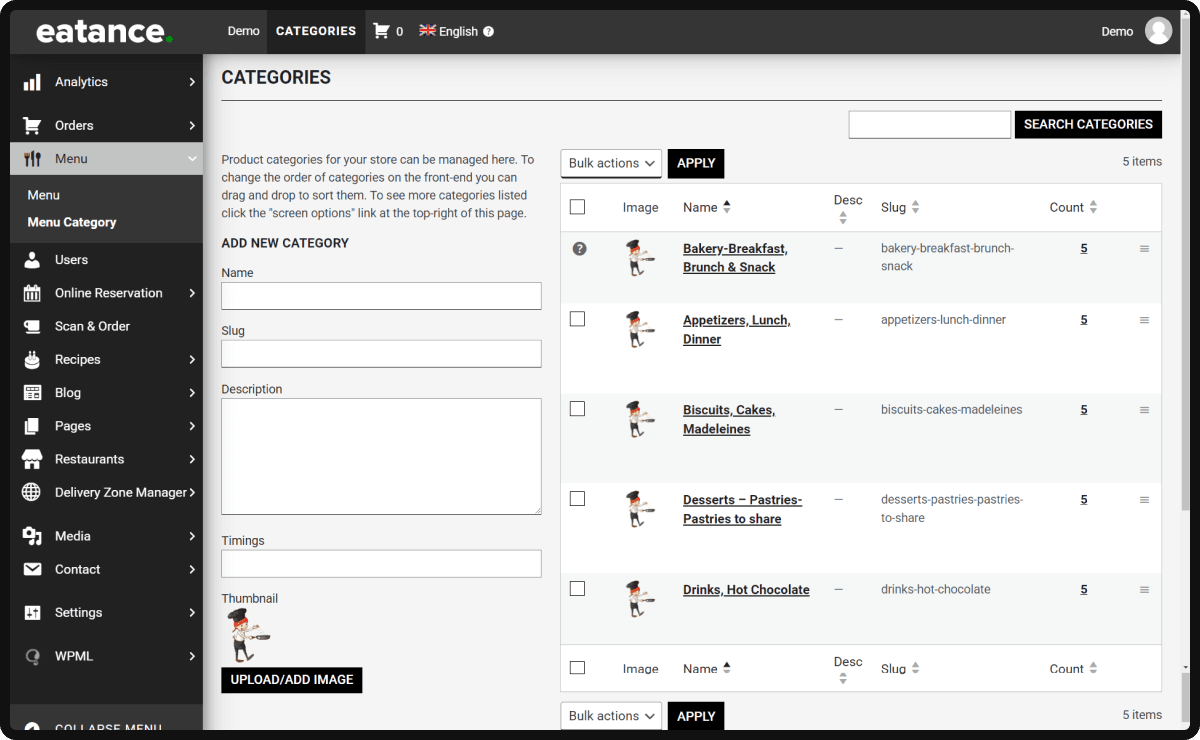
What is the "Menu Category" used for?
- When you have a different set of products or dishes, and you want to categorize every one of them with a label, you have to go to the "Menu Category option".
- Admin users can also create categories in advance to assign a category while they add products at a later stage. In this case, you must only select the right category while adding dishes.
- To create a new category, you only need to add the category name, add a description if required, upload an image, and that's it. Bingo! A new category will be created and added to the list.
Step 4: Adding Products and Assigning the Right Categories
- Click "Quick Add" at the top of the Product Listing Page.
- A small box will pop up on which you must click "Add New".

- Enter the category name you wish to assign to a particular product or dish.
- Add the name of the dish in the "Menu Name".

- Mention the total value of the dish in "Menu Price". It will be reflected in the menu until the next time you change it.

- Click on "Submit" to save the settings.
This way, you can add as many products as you want and assign categories to each in a few minutes.
Step 5: Product Listing Page Overview
A. Main Options at the Top:
- Besides the "Quick Edit" button, there is an "Add New" button to add the new products. However, we recommend using the "Quick Add" to add the products easily.

- You can view the "Published" and "All" product listings underneath.
- "Sorting" can be used to sort product listings based on your preferences and needs.
B. Product Listing Filtering
- You can select "Bulk Actions" to take preferred action on multiple products. For example, if you want to trash multiple product listings, you can use this option with a single click.

- Select multiple product listings, select the bulk action you wish to take from the drop-down menu and click Apply beside it.
- "Select a Category" allows you to select and see all the product listings related to the same category to edit or manage.
C. Product Listing Overview
- Take any product listing name, for instance.
- You can see different options underneath the name, such as Edit, Quick Edit, Trash, and View.
- You can also view the pricing, assigned category, restaurant name, branch, and marking option by selecting the "Star" shaped marker and Item Stock in the final column with options in and out of Stock options.
- Item Stock is significant as when you find that a product is out of stock, simply mark the product listing and select the "Out of Stock" option in the Item Stock drop-down menu.

We hope you realize how the Eatance Restaurant Builder has provided this incredible functionality to add products, assign categories, create product listings, and manage them instantly and in the shortest time possible.
We are intrigued to know your feedback about your experience with the Eatance Restaurant Builder and our user manuals.
Get in touch with our experts for anything that bothers you. We will be happy to help.


